Photo Corners headlinesarchivemikepasini.com
![]()
A S C R A P B O O K O F S O L U T I O N S F O R T H E P H O T O G R A P H E R
![]()
Enhancing the enjoyment of taking pictures with news that matters, features that entertain and images that delight. Published frequently.
Friday Slide Show: Rain


28 February 2014
We're in the midst of a drought here in sunny California. But this week the rains came for a short visit and we dug out the old Think Tank Photo Hydrophobia to cover up our Nikon D200 and take some photos.
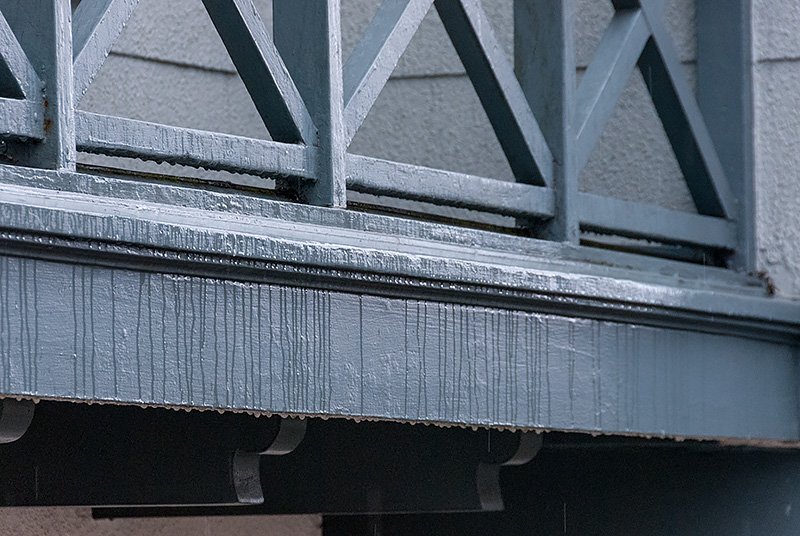
Stormy weather dresses up the familiar old things in a different light. Maybe you've owned a vehicle whose paint job was impervious to all the waxes known and devised by mankind? But didn't it shine like a jewel in the rain? You know what we mean.
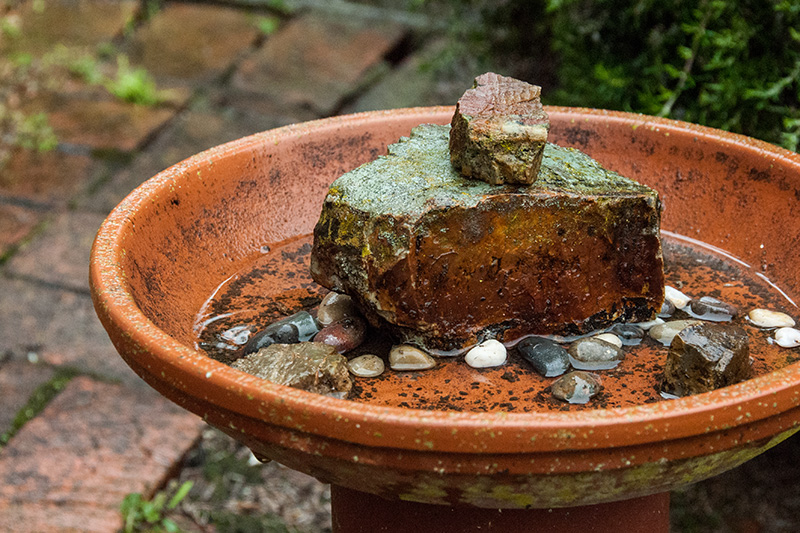
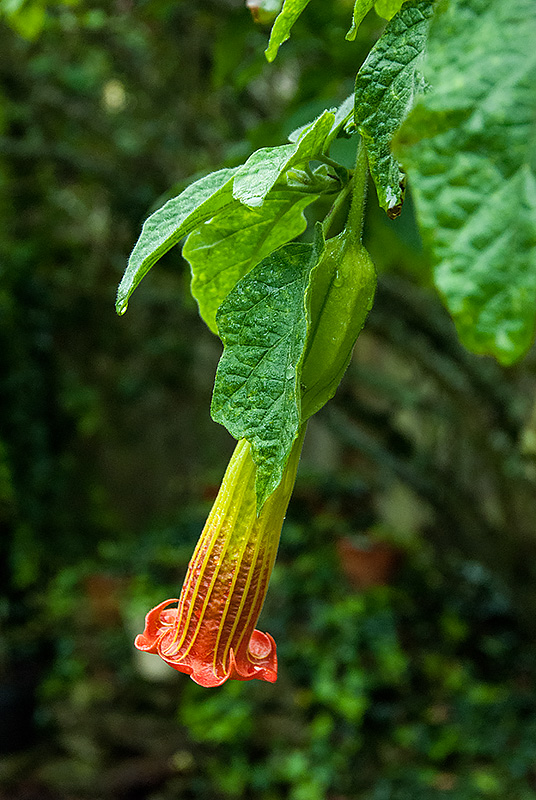
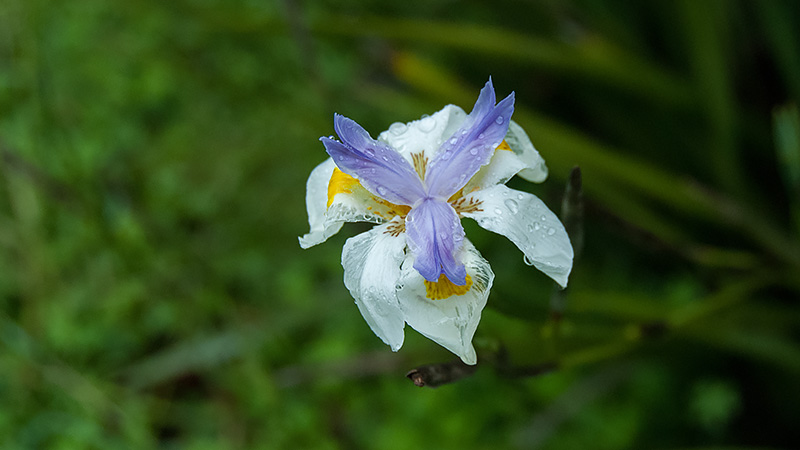
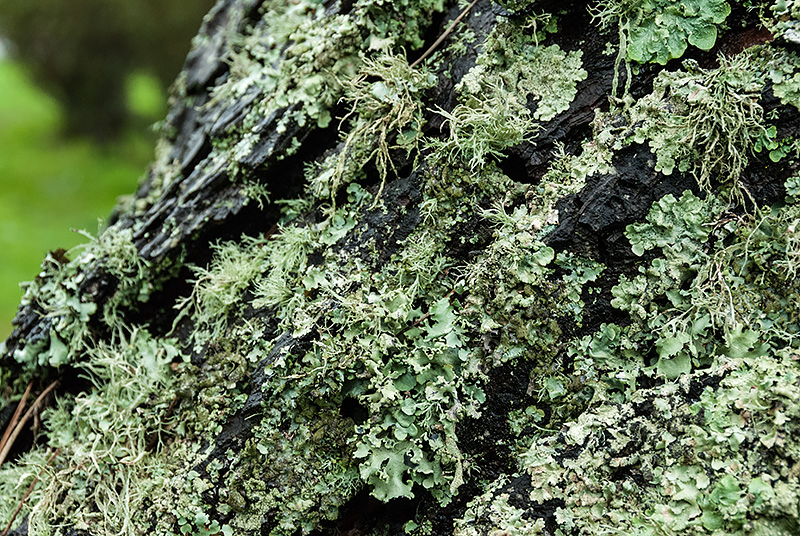
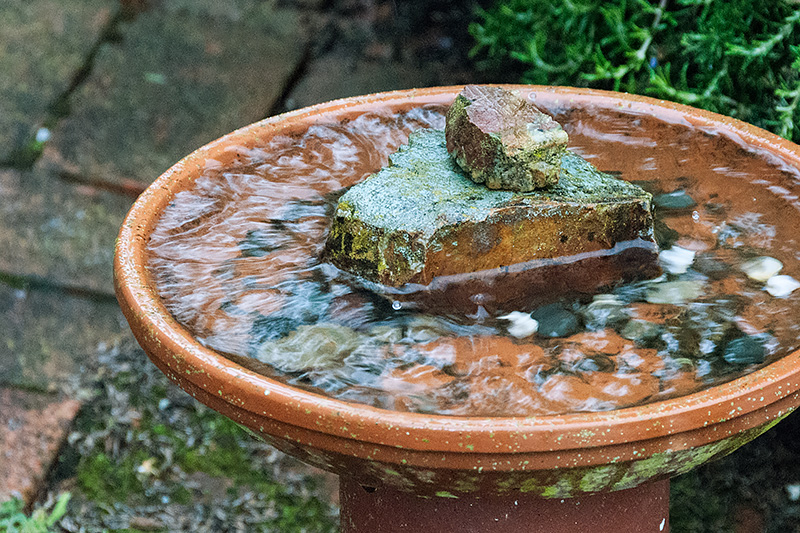
We didn't go far because we were just testing for bigger storms we hope to see later in the season, but what we did shoot appealed to us for its dark, saturated color.
These aren't pictures of rain, consequently. They were just shot in a light rain.
But, like each of our Friday Slide Shows, it gives us a chance to step away from the news desk and the product review bench to focus on what it's all about: taking pictures.
NOTES
We shot Raw-only with a Nikon D200 in Manual mode at ISO 800 (it's dark in the rain), using a 18-200mm Nikkor with just a UV(0) filter (because who needs acid rain on their lens).
We copied the NEF files to our computer and batch converted them to DNG files during their ingestion using the free DNG Converter from Adobe.
Why DNG? Well, the DNG files are about 10 percent smaller than the NEFs and when we tweak them in Camera Raw the edits are stored in the DNG file itself instead of an XMP sidecar file. All of that makes our backups easier (and less frequent) while allowing us to manipulate the capture significantly, which is something we like to do more and more.
As we did with these, which were processed in Adobe Camera Raw 8.3 before being sharpened with Smart Sharpen in Photoshop CC after resizing for this presentation.
Usually we use Lightroom 5 to do the slide shows because we're processing a lot of images and it's more efficient. But this time, with fewer images, we did it all in Photoshop.
HYDROPHOBIA
The real star of this outing, though, is the rain cover. Think Tank Photo introduced the Hydrophobia 70-200 in 2010. As we described it then:
Think Tank Photo has just announced two additions its Hydrophobia line of rain covers whose model numbers indicate the focal length of the zooms they can accommodate. The 300-600 model will be joined later this month by two versions of 70-200 model, the $139 standard model and a $145 model with a built-in flash protector.
The Hydrophobia, which also requires a lens hood for the lens you'll be using and a $35 eyepiece, includes a camera strap that, in combination with an internal lens strap, can be used to carry the camera. The cover's protection isn't compromised by any special camera strap routing nor are you inconvenienced by having to remove your camera strap to use the cover.
A lens cap cover is also included as is a small pocket to store the eyepiece when not in use. And an L-shaped zipper makes it easy to get inside the bag to strap the lens to it.
Current prices for the Hydrophobia lineup, we should note, are a bit higher at $149.75 for the 70-200 model and $145.75 for the Flash 70-200. The 300-600 model lists for $169.75.
The Hydrophobia performed admirably. We hung it from our neck and it held our camera up by the long lens inside. There's a neat little strap to hold the actual camera strap out of the way inside, too.
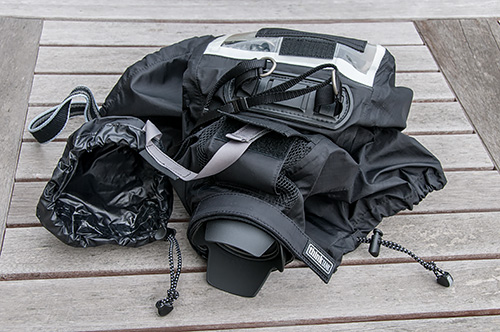
Hydrophobia-encased Nikon D200. Rollover the image to identify a) lens cap, b) Nikkor lens hood snuggly grasped by Velcro strap, c) cover's strap, d) viewfinder cover with Velcro patch, e) sleeve for left hand and f) sleeve for right hand.
The custom eyepiece replaces the normal one, which just slides off, and provides a nice weather-sealed window into your viewfinder. Then you just keep it dry with the eyepiece flap and cover the lens with the Hydrophobia's elastic lens cap and off you go.
When you see something you like, you flick off the lens cap and lift the flap over the eyepiece (which is held back by some Velcro), slip one hand into the sleeve on the right to grab the camera's grip and the other in the sleeve on the left to focus and zoom.
There's a window on the back of the Hydrophobia so you can see the LCD, but under the circumstances we kept our nose to the optical viewfinder, fiddling with the two command dials to set exposure manually.
It was fun while it lasted.