Photo Corners headlinesarchivemikepasini.com
![]()
A S C R A P B O O K O F S O L U T I O N S F O R T H E P H O T O G R A P H E R
![]()
Enhancing the enjoyment of taking pictures with news that matters, features that entertain and images that delight. Published frequently.
Friday Slide Show: The Presidio Cemetery


27 May 2016
It's officially called the San Francisco National Cemetery. But we call it the Presidio Cemetery because that tells you where it is.
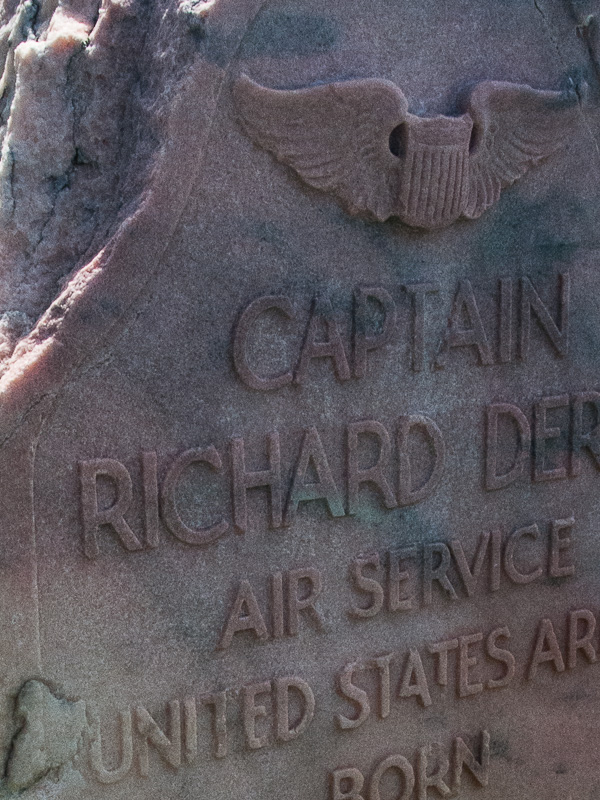
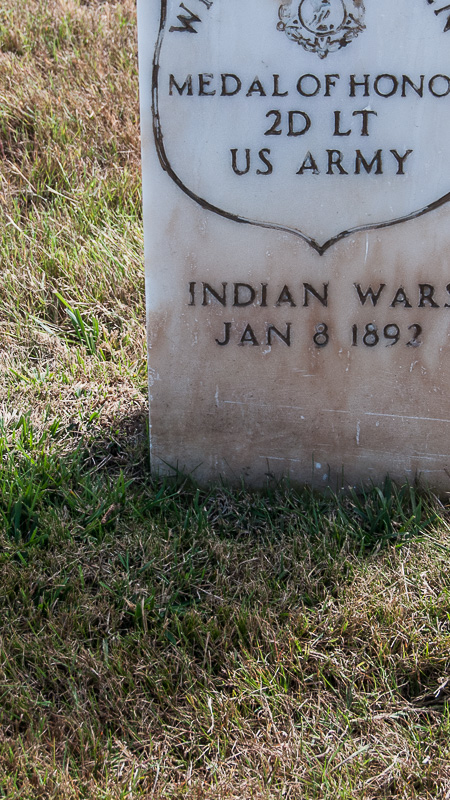
It's the final resting place of Medal of Honor recipients, Buffalo Soldiers, Civil War generals and veterans of every war since the 1850s. Over 30,000 veterans are buried here.
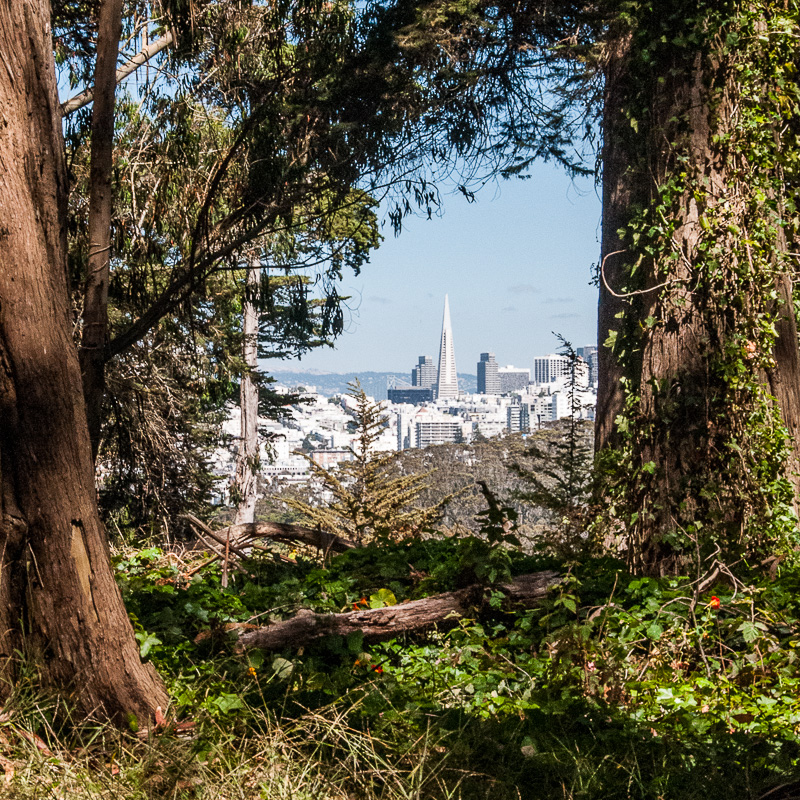
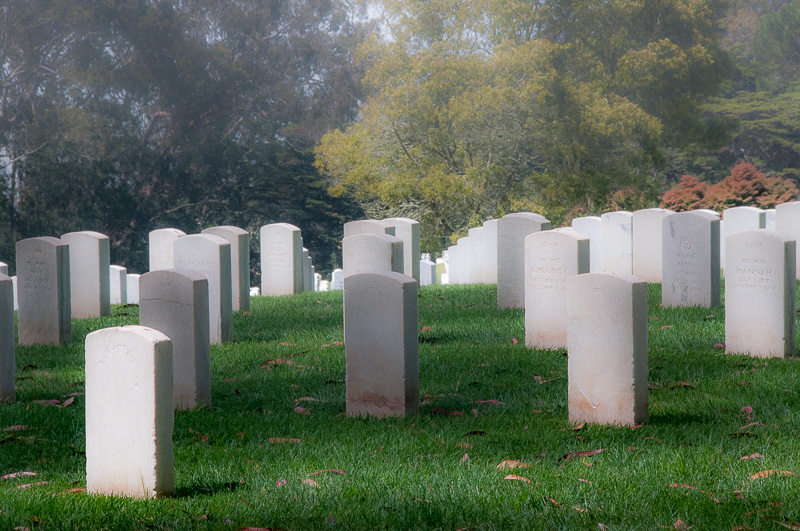
Monday we'll remember those who fell in uniform. But today we thought we'd walk you through this historic cemetery starting at the top of the hill where downtown is only a distant vision and continuing down to the bottom of the hill where there are a few Medal of Honor recipients.
We shot these a couple of years ago with a Nikon D300 and an 18-200mm Nikkor with a circular polarizer on it. But the real story isn't the exposures. It's the edits.
But the real story isn't the exposures. It's the edits.
We did the edits in Lightroom CC, as we usually do, but we didn't do our usual edits.
The first decision we made was to dramatically crop the captures. In some cases this meant changing from the camera's native 3:2 aspect ratio to a 16:9 or 1:1 aspect ratio. But it also meant using just a small part of the frame in many cases.
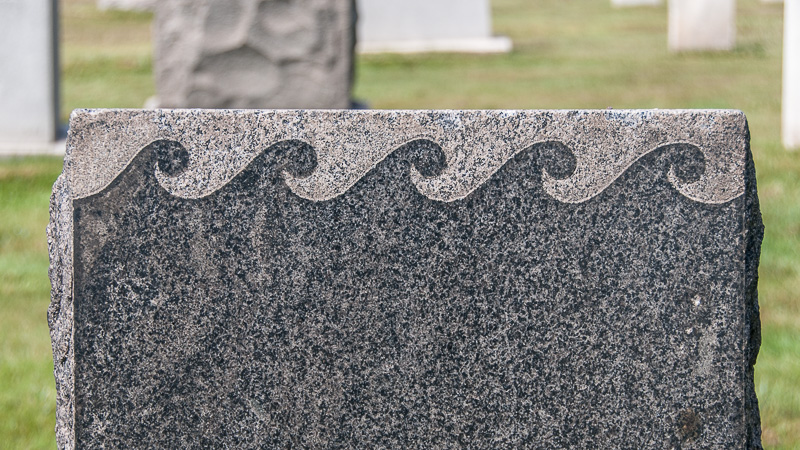
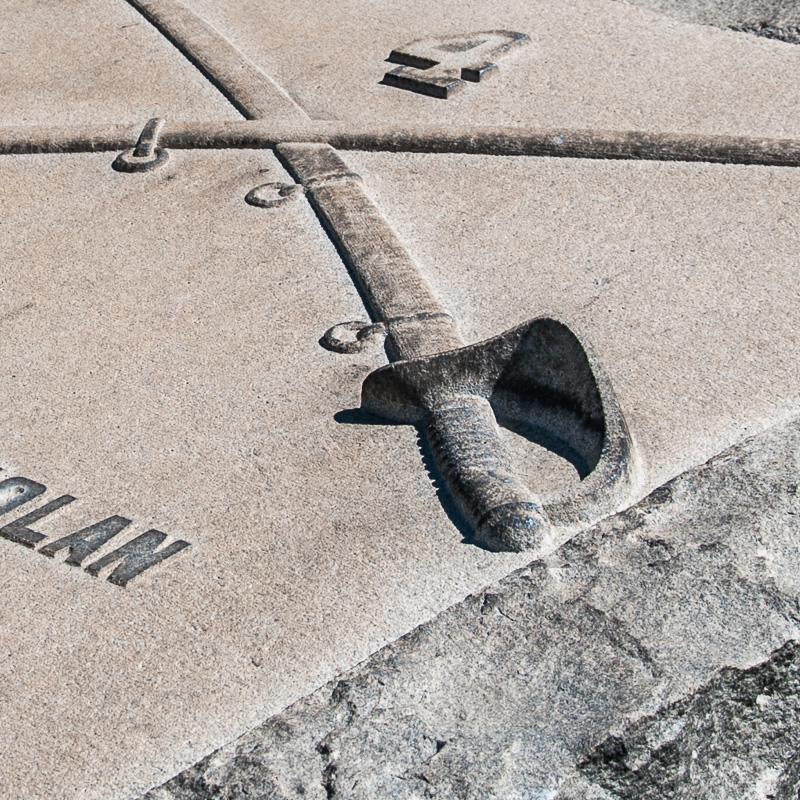
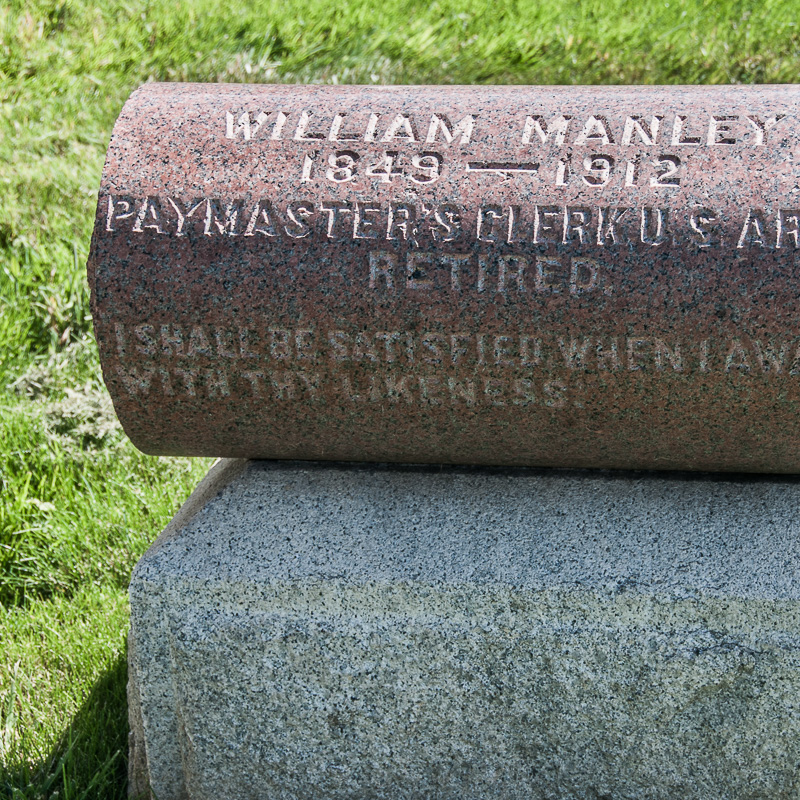
We did this not to obscure any names but to reflect the little we know about these lives. By emphasizing the rough cut of a headstone or the weathered surface of a once smooth stone, we also highlight their sacrifice.
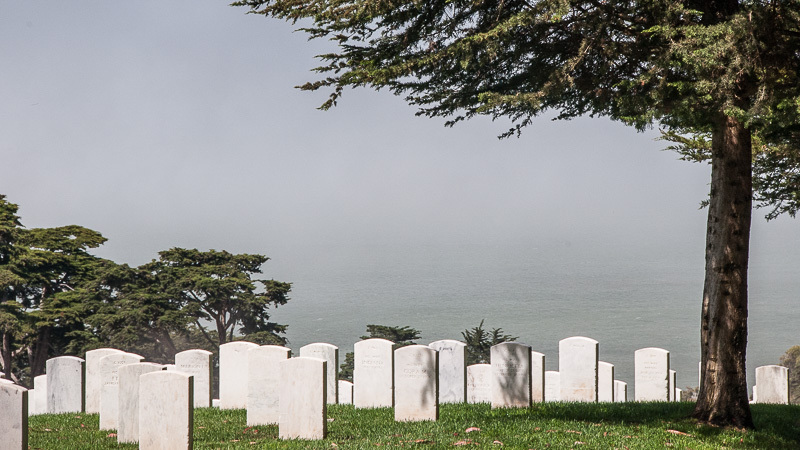
There was a good deal of painting, too. We wanted to soften some slightly blurred backgrounds, which we did by applying a brush stroke of negative Dehazing and negative Clarity.
And in some cases, we wanted to intensify the opposite effect, which we achieved with a Graduated Filter.
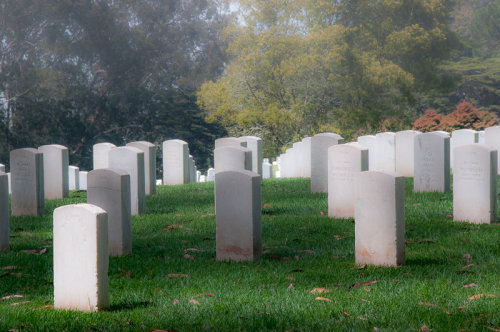
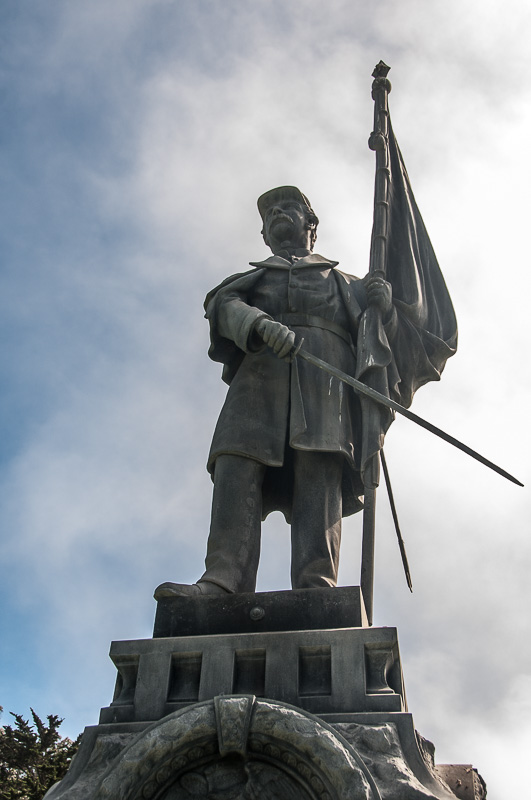
We were taking our clue from the image itself. Not sharpening soft elements or softening sharp ones but softening what was already blurred or sharpening what was already in focus. We were looking for a visual contrast that was not tonal, which the image above, our lead thumbnail, demonstrates.
In one case, we did a little retouching. We got rid of a superfluous sign post in the bay water with the Spot Removal tool.
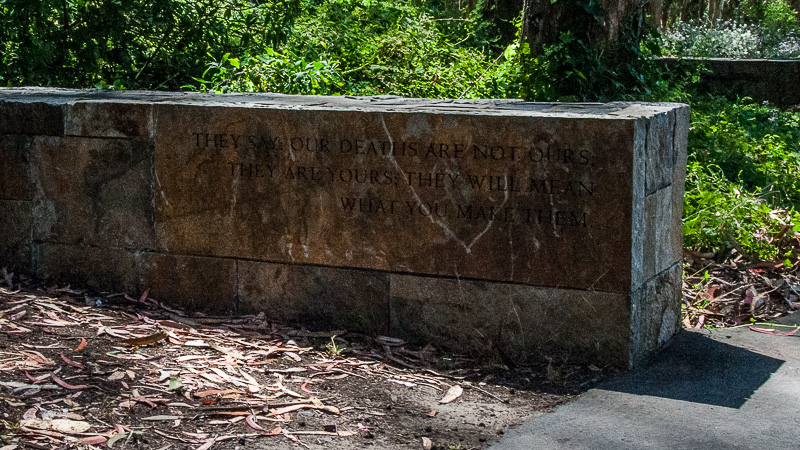
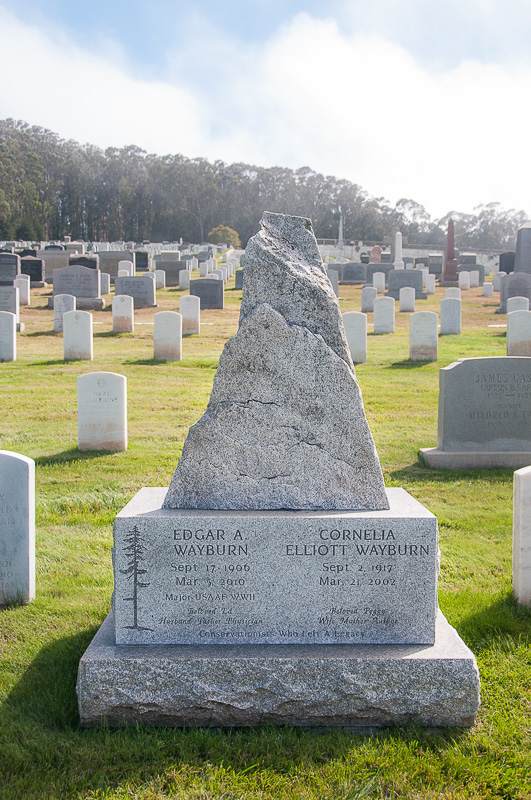
These captures had another mysterious problem. We can't remember what caused the problem (it might have been that we were shooting right after lunch at the golf course cafe), but our exposures were all over the place. It could just have been the glare of the bright stone or the dark background of trees. But we had to really changed the Exposure value on several of these. The last image, for example, required a -2.30 Exposure adjustment.
Which made us happy we'd shot them as Raw files instead of JPEGs, which would not have let us recover as nicely.