C O N T E N T S
Photo Corners headlinesarchivemikepasini.com
![]()
A S C R A P B O O K O F S O L U T I O N S F O R T H E P H O T O G R A P H E R
![]()
Enhancing the enjoyment of taking pictures with news that matters, features that entertain and images that delight. Published frequently.
FastFoto: Scan Comparison


17 January 2017
In this installment of our multi-part review of the Epson FastFoto, we'll show how FastFoto's scan of a print compares with several other methods of digitizing the same image, including a scan of the negative, a flatbed scan of the same print, a camera shot of the print and Google PhotoScan app's reconstruction of the print
CONSIDERATIONS
You might be able to guess how these options rank without even bothering to examine our examples. But there are a few surprises. Let's go through a few important considerations before showing you the representative samples.
In an ideal world you retained the paper envelope with both the negatives processed by the lab and the prints made from them. So you have the option of scanning the negatives or the prints.
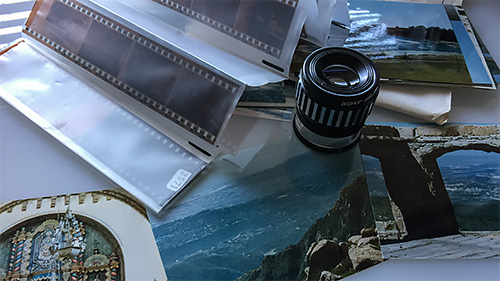
Originals. Color negatives and prints used to test various scanning methods.
In the real world, you often have only a print. It might be glued into a scrapbook or loose in a shoebox or fading in a frame. The 'original' in this case becomes your print.
And the same thing goes for negatives orphaned from their prints. The negatives remain as the originals.
But when you have both, the negatives trump the prints because 1) the prints are derived from the negatives and 2) no print can represent all the information in a negative.
In our tests, for example, we often adjusted the tonal range of the scanned negative to produce a better image than the averaged exposure that was used to make the print. In the averaged exposure, the shadows lost detail becoming too dark and the highlights burned out.
But in the scanned image, we could salvage both shadows and highlights.
Averaged exposure isn't the only problem with prints.
Prints made in the first half of the 20th century were black-and-white contact prints. They were not enlarged at all but the negative was placed in contact with the paper and exposed.
That yielded excellent detail and tonal range, both. Very little was lost, although a little dynamic range is always lost going to paper.
But with the advent of color photography and enlargements, the game changed. And since many of those prints are decades old, color fading plays a role in print quality too.
Another factor is the poor quality of many one-hour lab prints. They were convenient, but they were often poorly exposed and poorly processed.
Clearly with a print scanner like the FastFoto, your results will be constrained by the quality of the print.
Another important consideration when faced with a wall of shoeboxes is your expected lifetime. Scanning a roll of negatives will take an hour. Scanning a stack of prints will take less than a minute on the FastFoto.
Digitizing your entire collection is a worthy goal. It makes it easy to duplicate and to share. And that provides some insurance for the family history.
So even scanning poor quality prints can have some value.
That's because you are not limited to one scan. You can, for example, quickly process a set of scanned print images and from them select a few you'd like to work on. If you have the negative, you can scan that to get the most information about the image possible and then edit that scan.
This is one case in which you can have your cake and eat it too.
As we reported in the previous installment, we got mixed results from automatic image enhancements. The problem is simply that image analysis isn't as good as intelligent appraisal.
Sure, image analysis can find red-eye and do something about it. But it's less successful determining white balance (for some reason). And it can shift exposure the wrong way just as easily as the right way.
But you know by looking at an image what needs to be done. You know if the faces are too dark or too light regardless of the sky. So intelligent image editing in an image editing software program will always beat auto enhancement.
There's another aspect to image editing worth considering, though. Tools that can remove dust with a swipe of your mouse or whisk away the mist in a landscape or straighten the sides of a building are not part of auto enhancements. They're sophisticated editing options you can apply manually, though. And they make all the difference.
THREE IMAGES, FIVE SCANS
We made five scans of each of our test images, resulting in six images.
The negatives were shot on Kodak Gold 200 Gen 1 color negative film sometime before 1994 and possibly in the 1980s (we're still trying to remember). They had been stored in a negative holder in the paper envelope the lab had delivered the prints in.
We scanned them on the OpticFilm 135 using VueScan and subsequently edited them in Lightroom CC to adjust the shadows and highlights, sharpen the images and remove atmospheric haze from the landscapes.
It's worth pointing out that this method did not reference the prints. It was, consequently the most accurate even if it appears to be the odd duck in each series.
The prints, which were all good exposures, have been stored in the paper envelope from the lab in complete darkness. We scanned each print four ways:
- FastFoto: We just ran them through the FastFoto along with a few others from the same roll of film. This was the fastest method. Both enhanced and raw scans are presented, accounting for the sixth image in each group of five scans.
- Camera Copy: We took a photo of the prints with a Micro Four Thirds digital camera. The only issue here is alignment. You want the camera back to be square to the print and that can be tricky. Once you have a reliable setup, though, this can be very fast, although not as fast as the FastFoto. We didn't crop in camera but later in editing sofware when we converted the DNG Raw files to JPEGs.
- Flatbed Scanner: We used a CanoScan 9000F and Image Capture to scan the prints as JPEGs. No worries about alignment here and you can do a few at a time with the right scanning software. But it still takes time to lay them out on the platen and the scans themselves take longer than a camera exposure. But you aren't interpolating color as you are with a camera sensor's filter array.
- PhotoScan with a Smartphone: Like the camera copy, using your smartphone to copy the image is always a possibility and may be the most convenient (say, when you're visiting a relative who shows you a special print). Google's PhotoScan promises to deliver a better reproduction than just using the smartphone's camera. We used it in shade to copy these prints.
At 300 dpi, we're not concerned about resolution. There will be more detail in the film scan than the print scans but the print scans should all be equivalent. And you can see that even in these 500-pixel thumbnails.
What they do show clearly is the color rendering and tonal scale achieved by each method. That's what to look for in each of these groups.
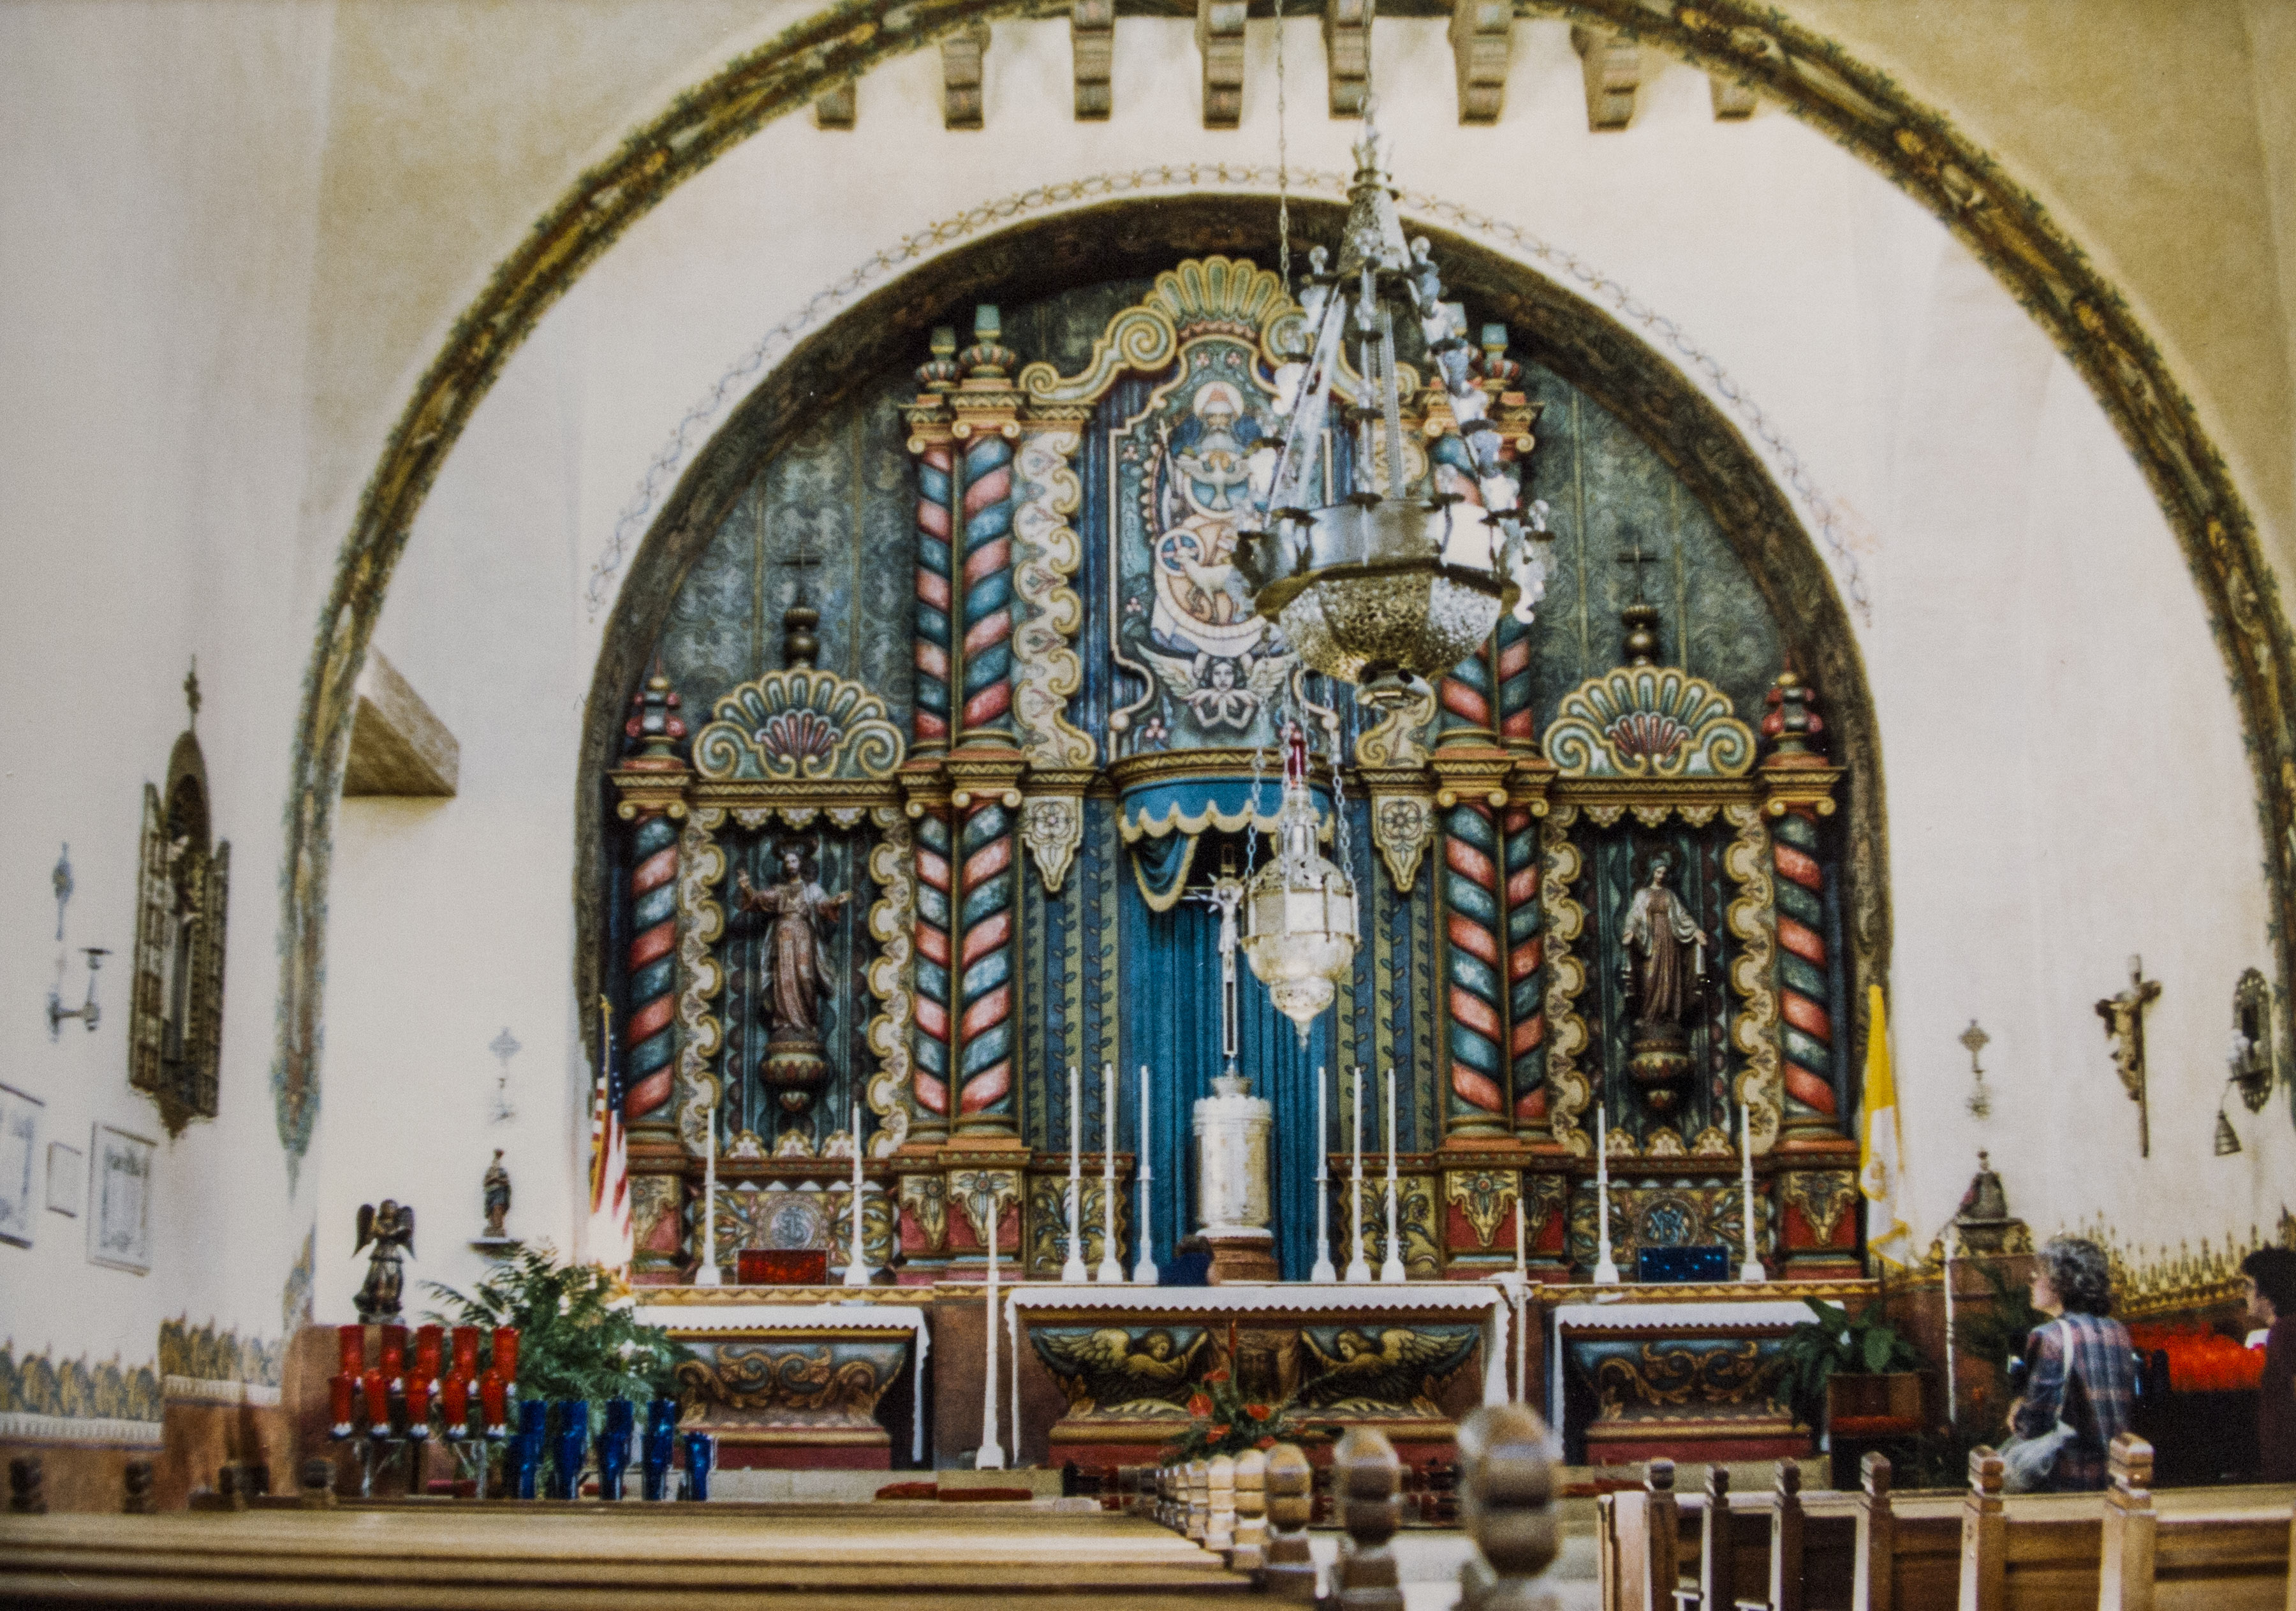
AN INTERIOR
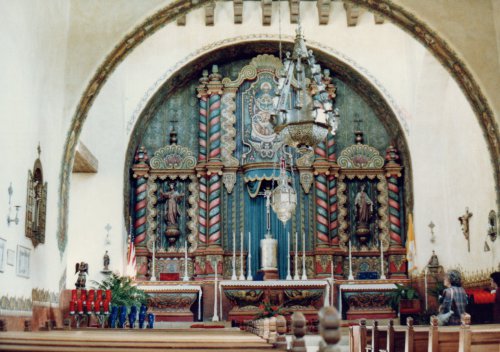
FastFoto Enhanced. A slight improvement over the raw FastFoto scan below.
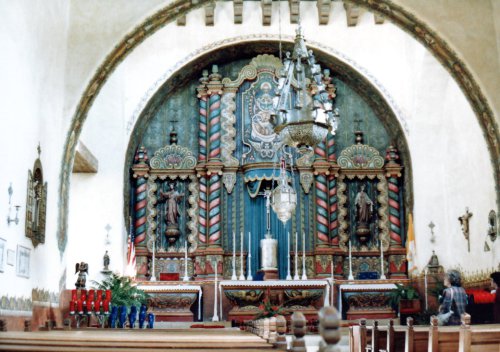
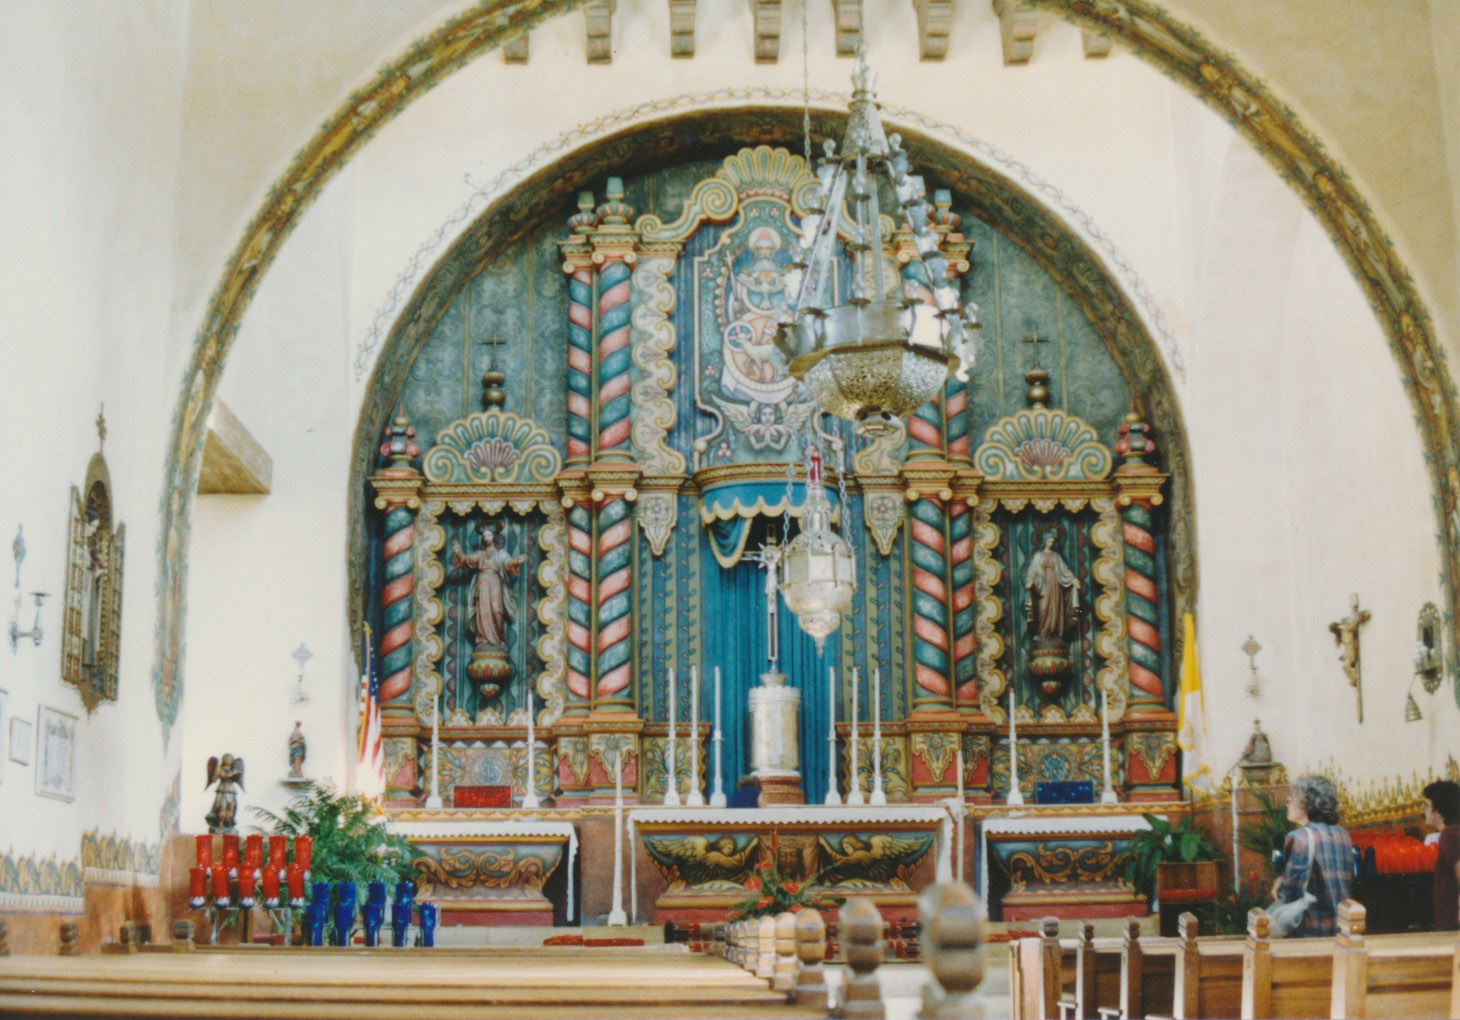
FastFoto. Burned out highlights but everything else held up well.
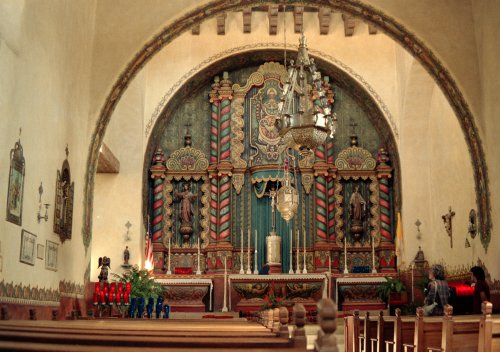
OpticFilm 135. More accurate color.
Camera. Pretty close to the enhanced FastFoto scan.
Flatbed. Unedited JPEG could use some work but there's something to work with.
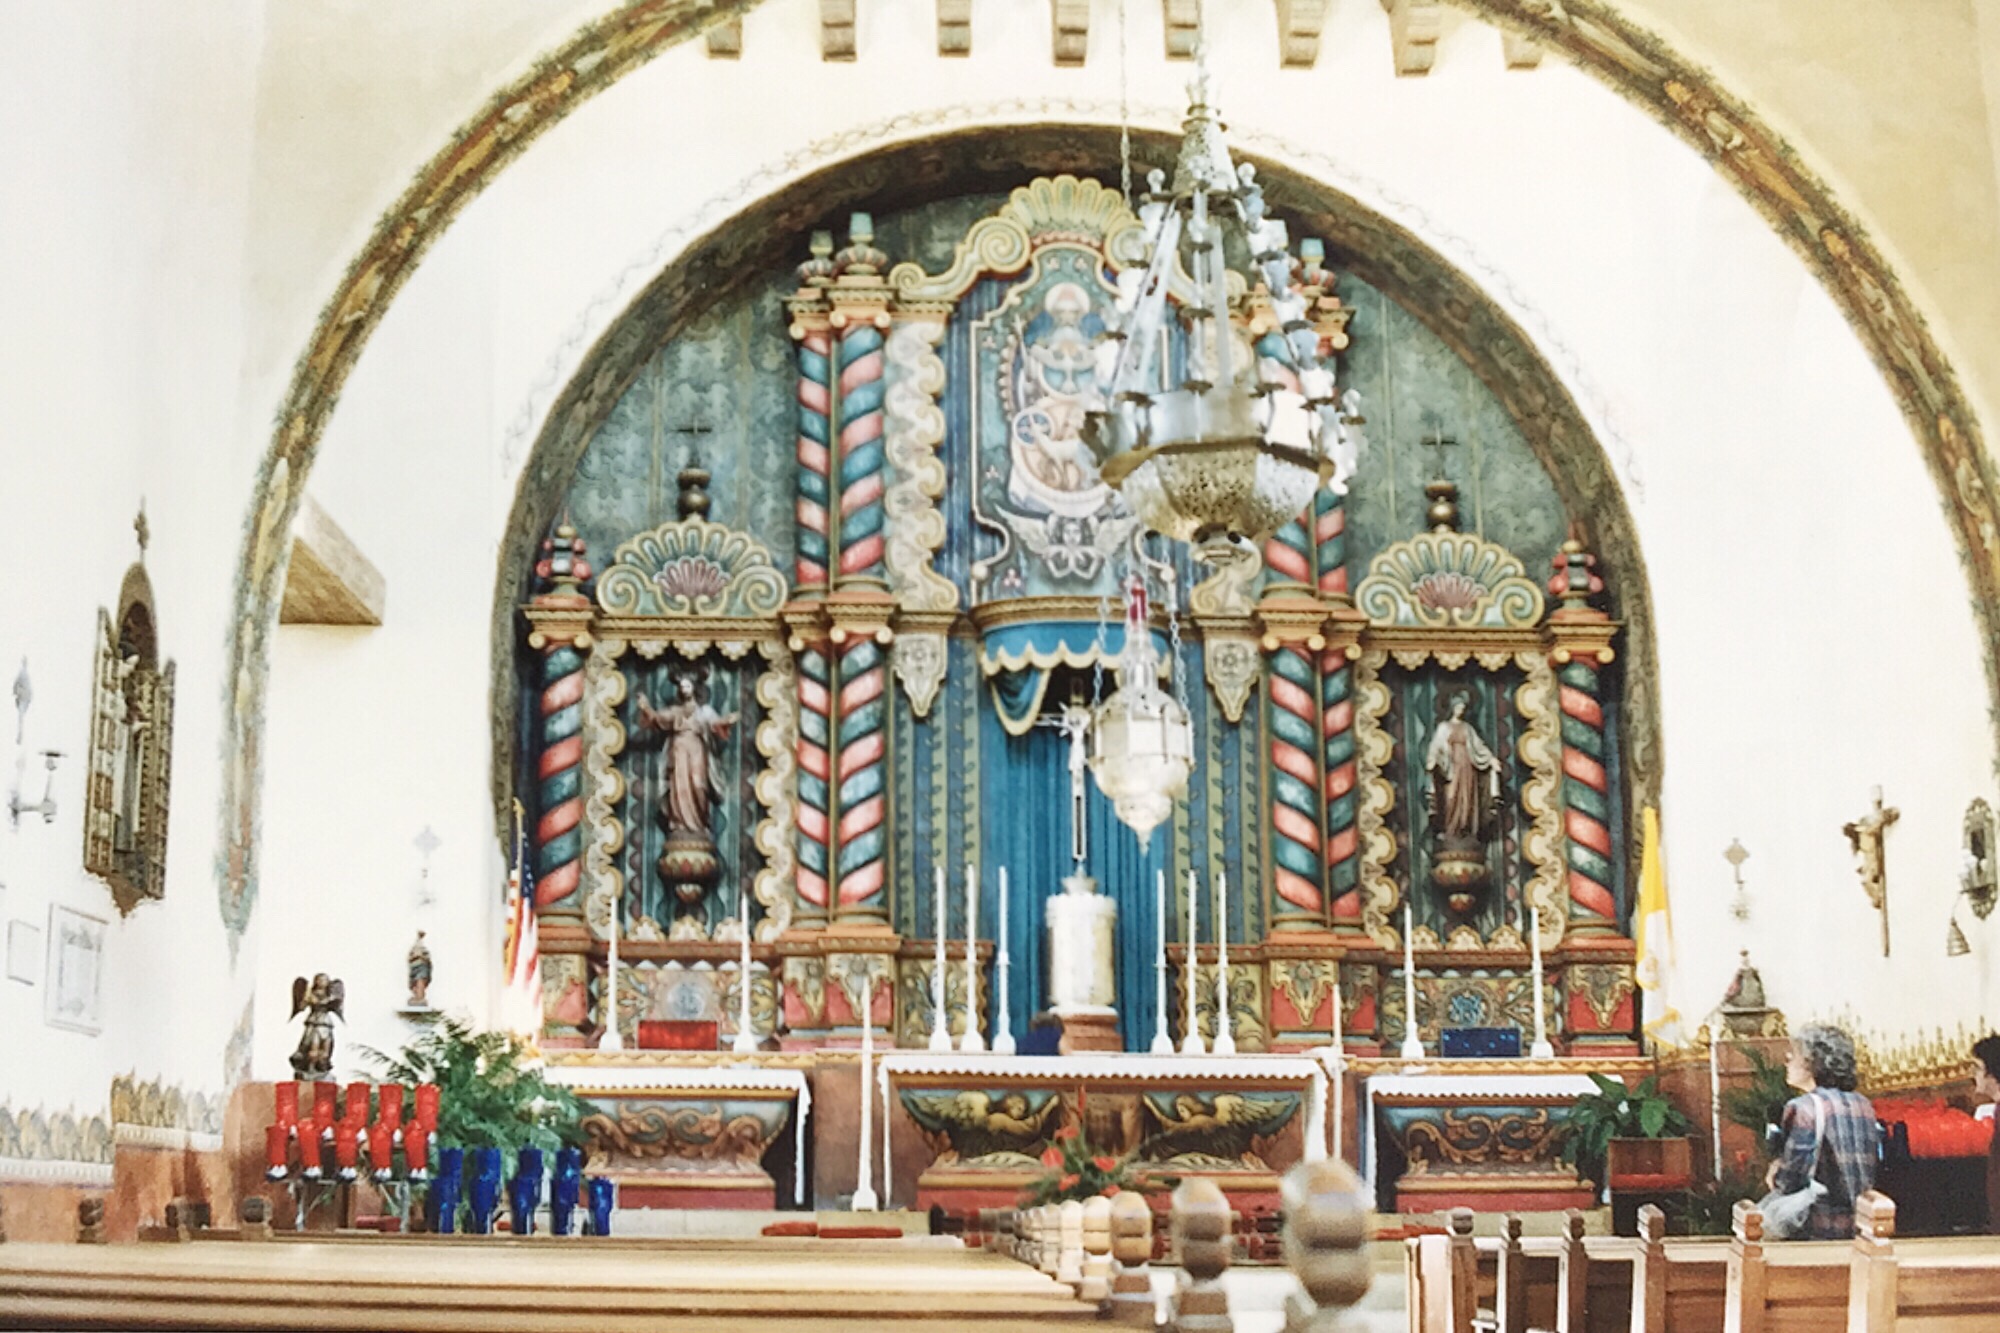
Smartphone. Last and last place, too, but in a pinch it would do.
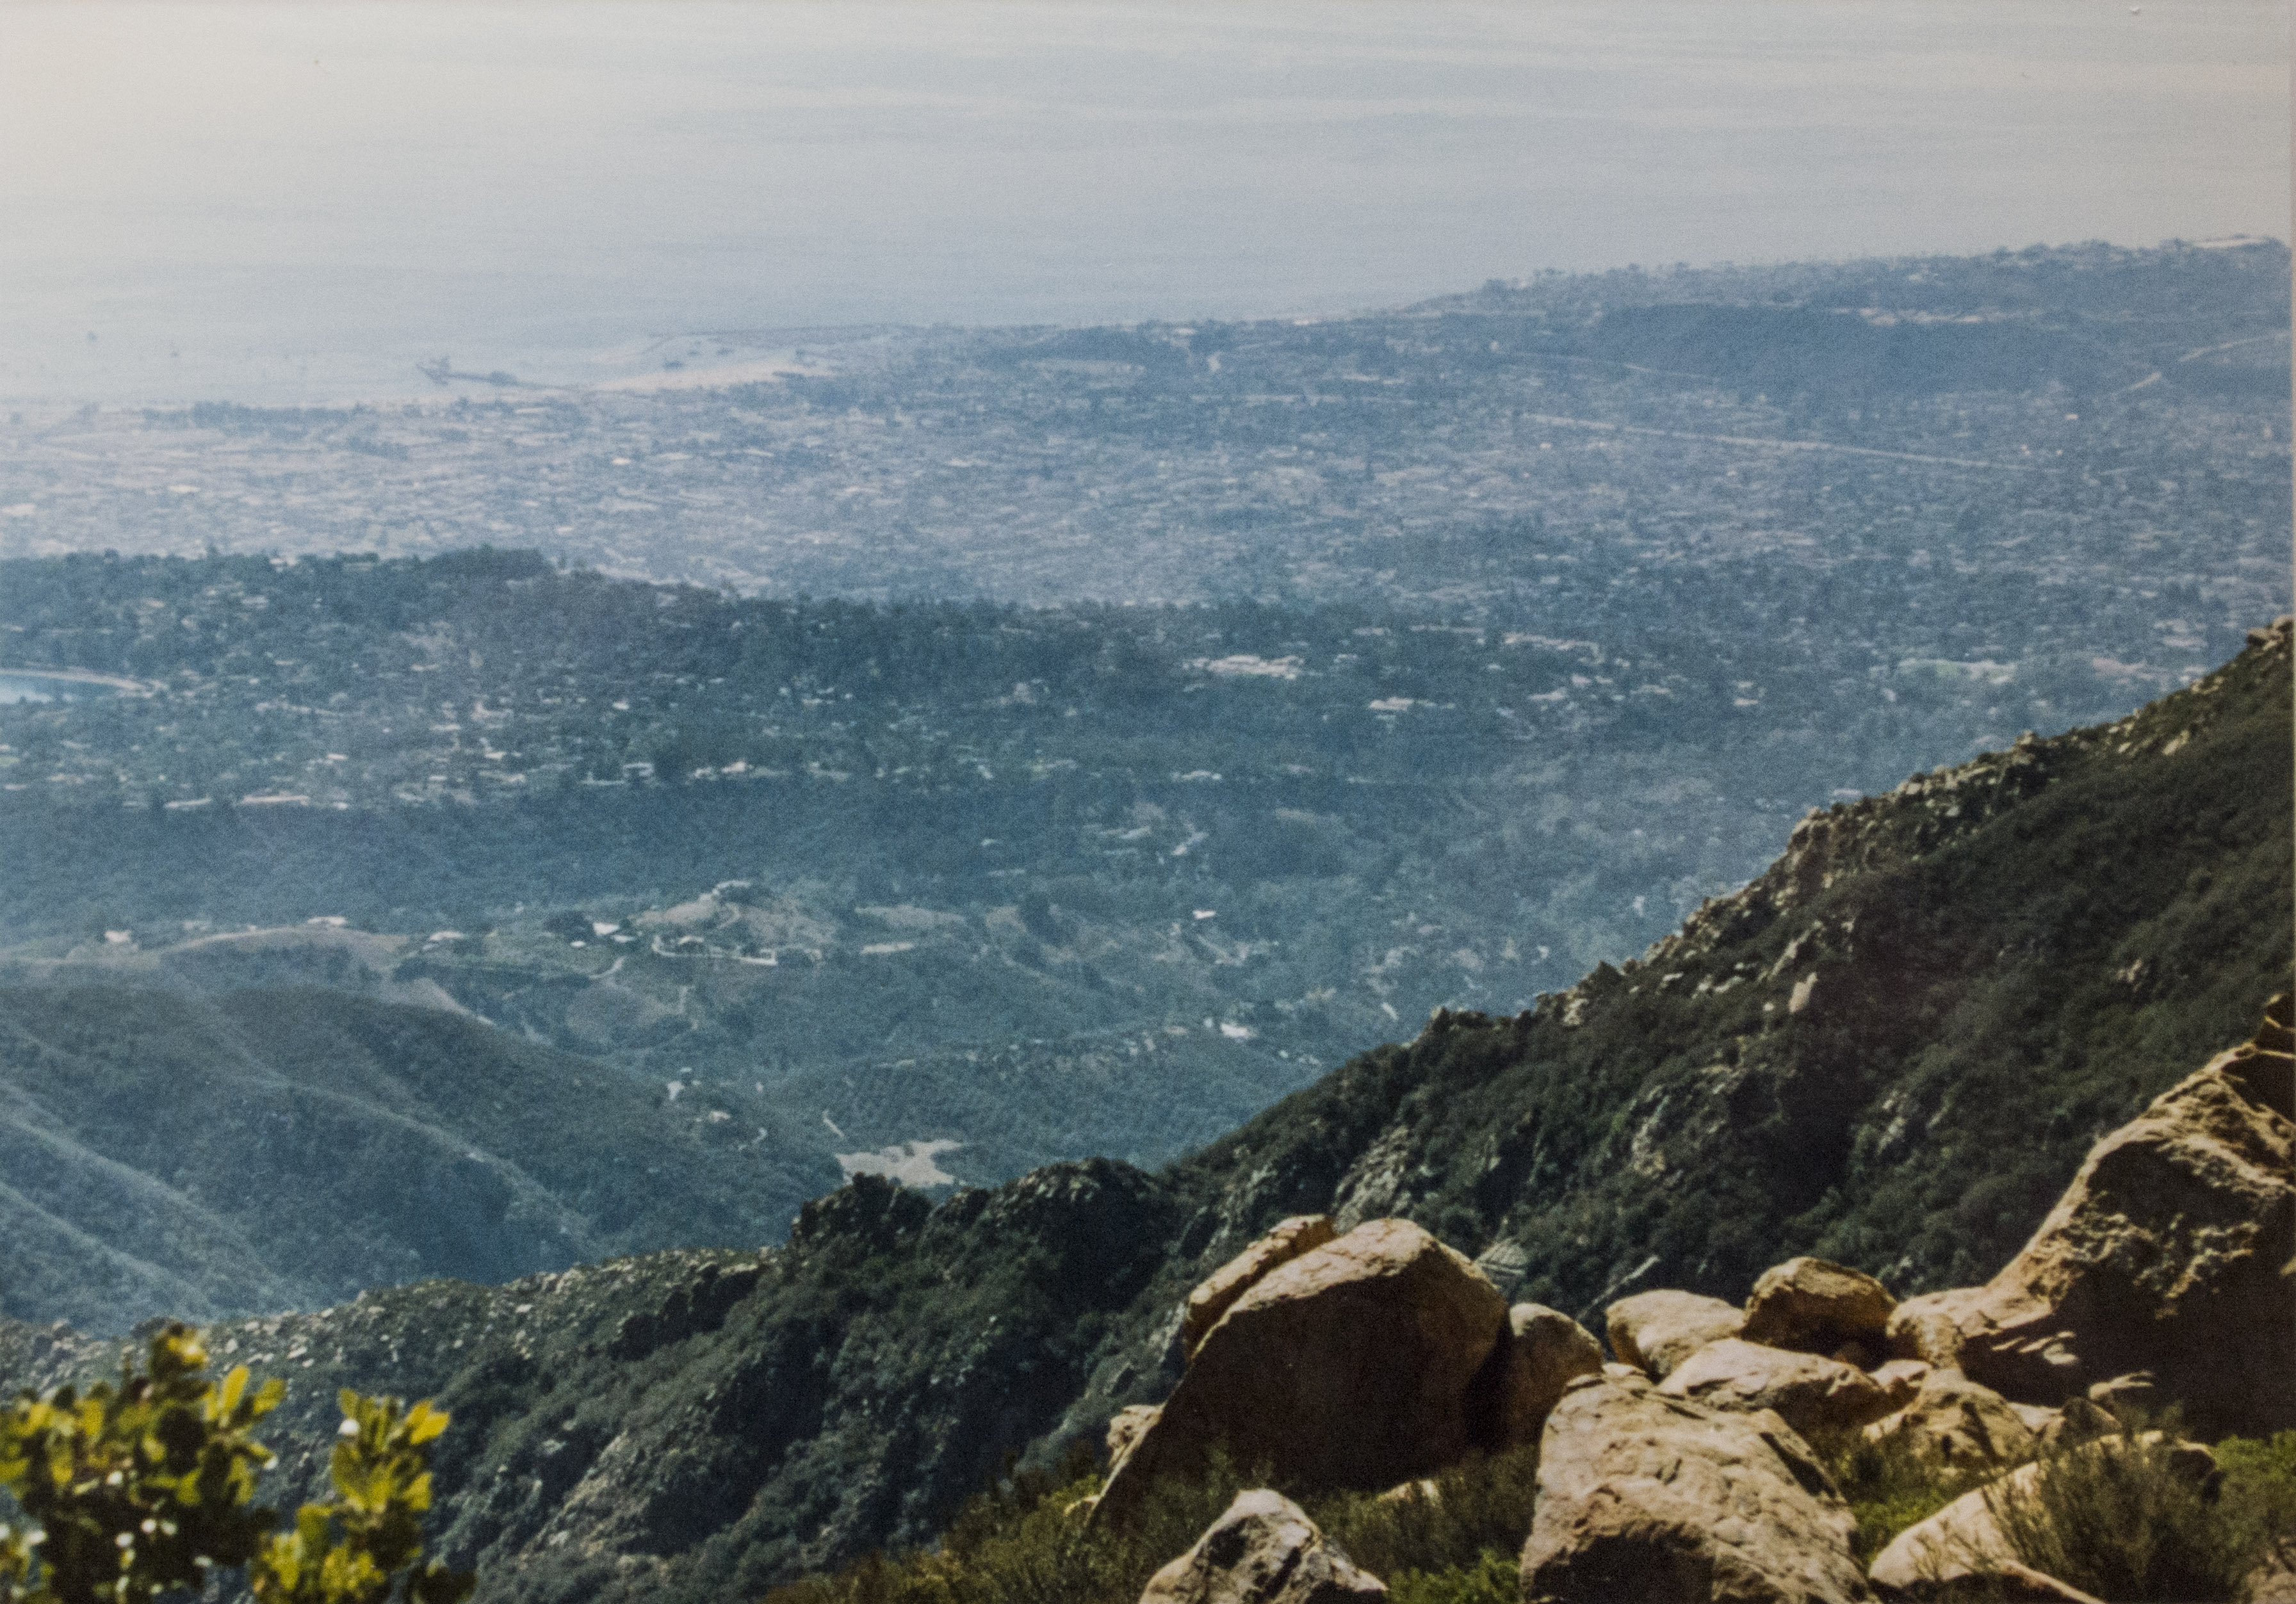
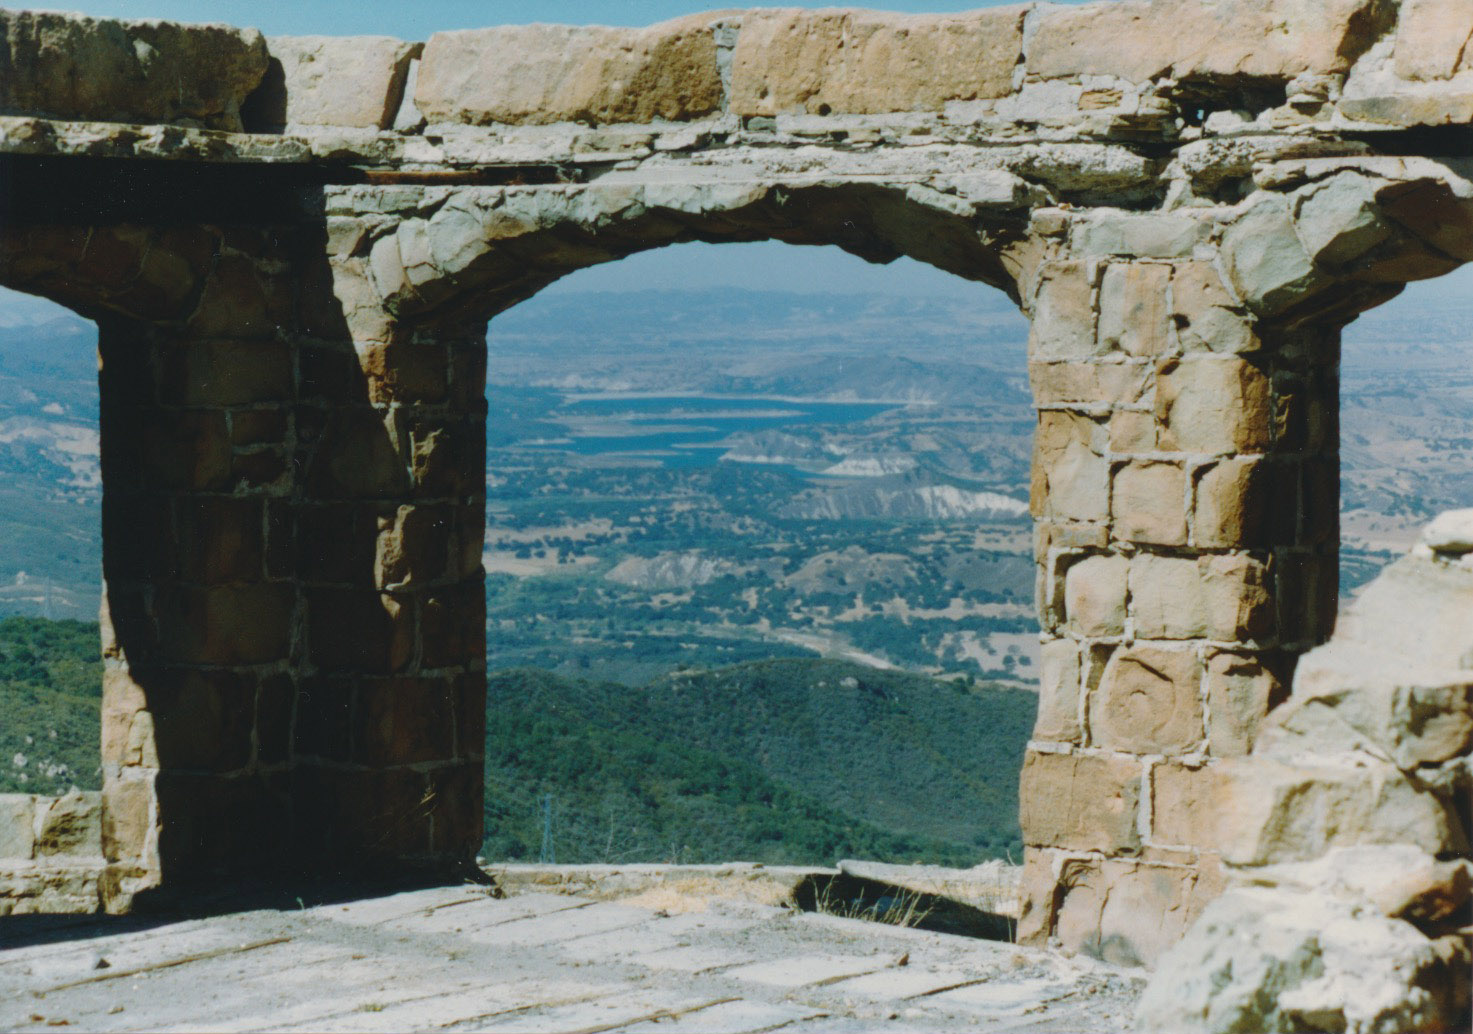
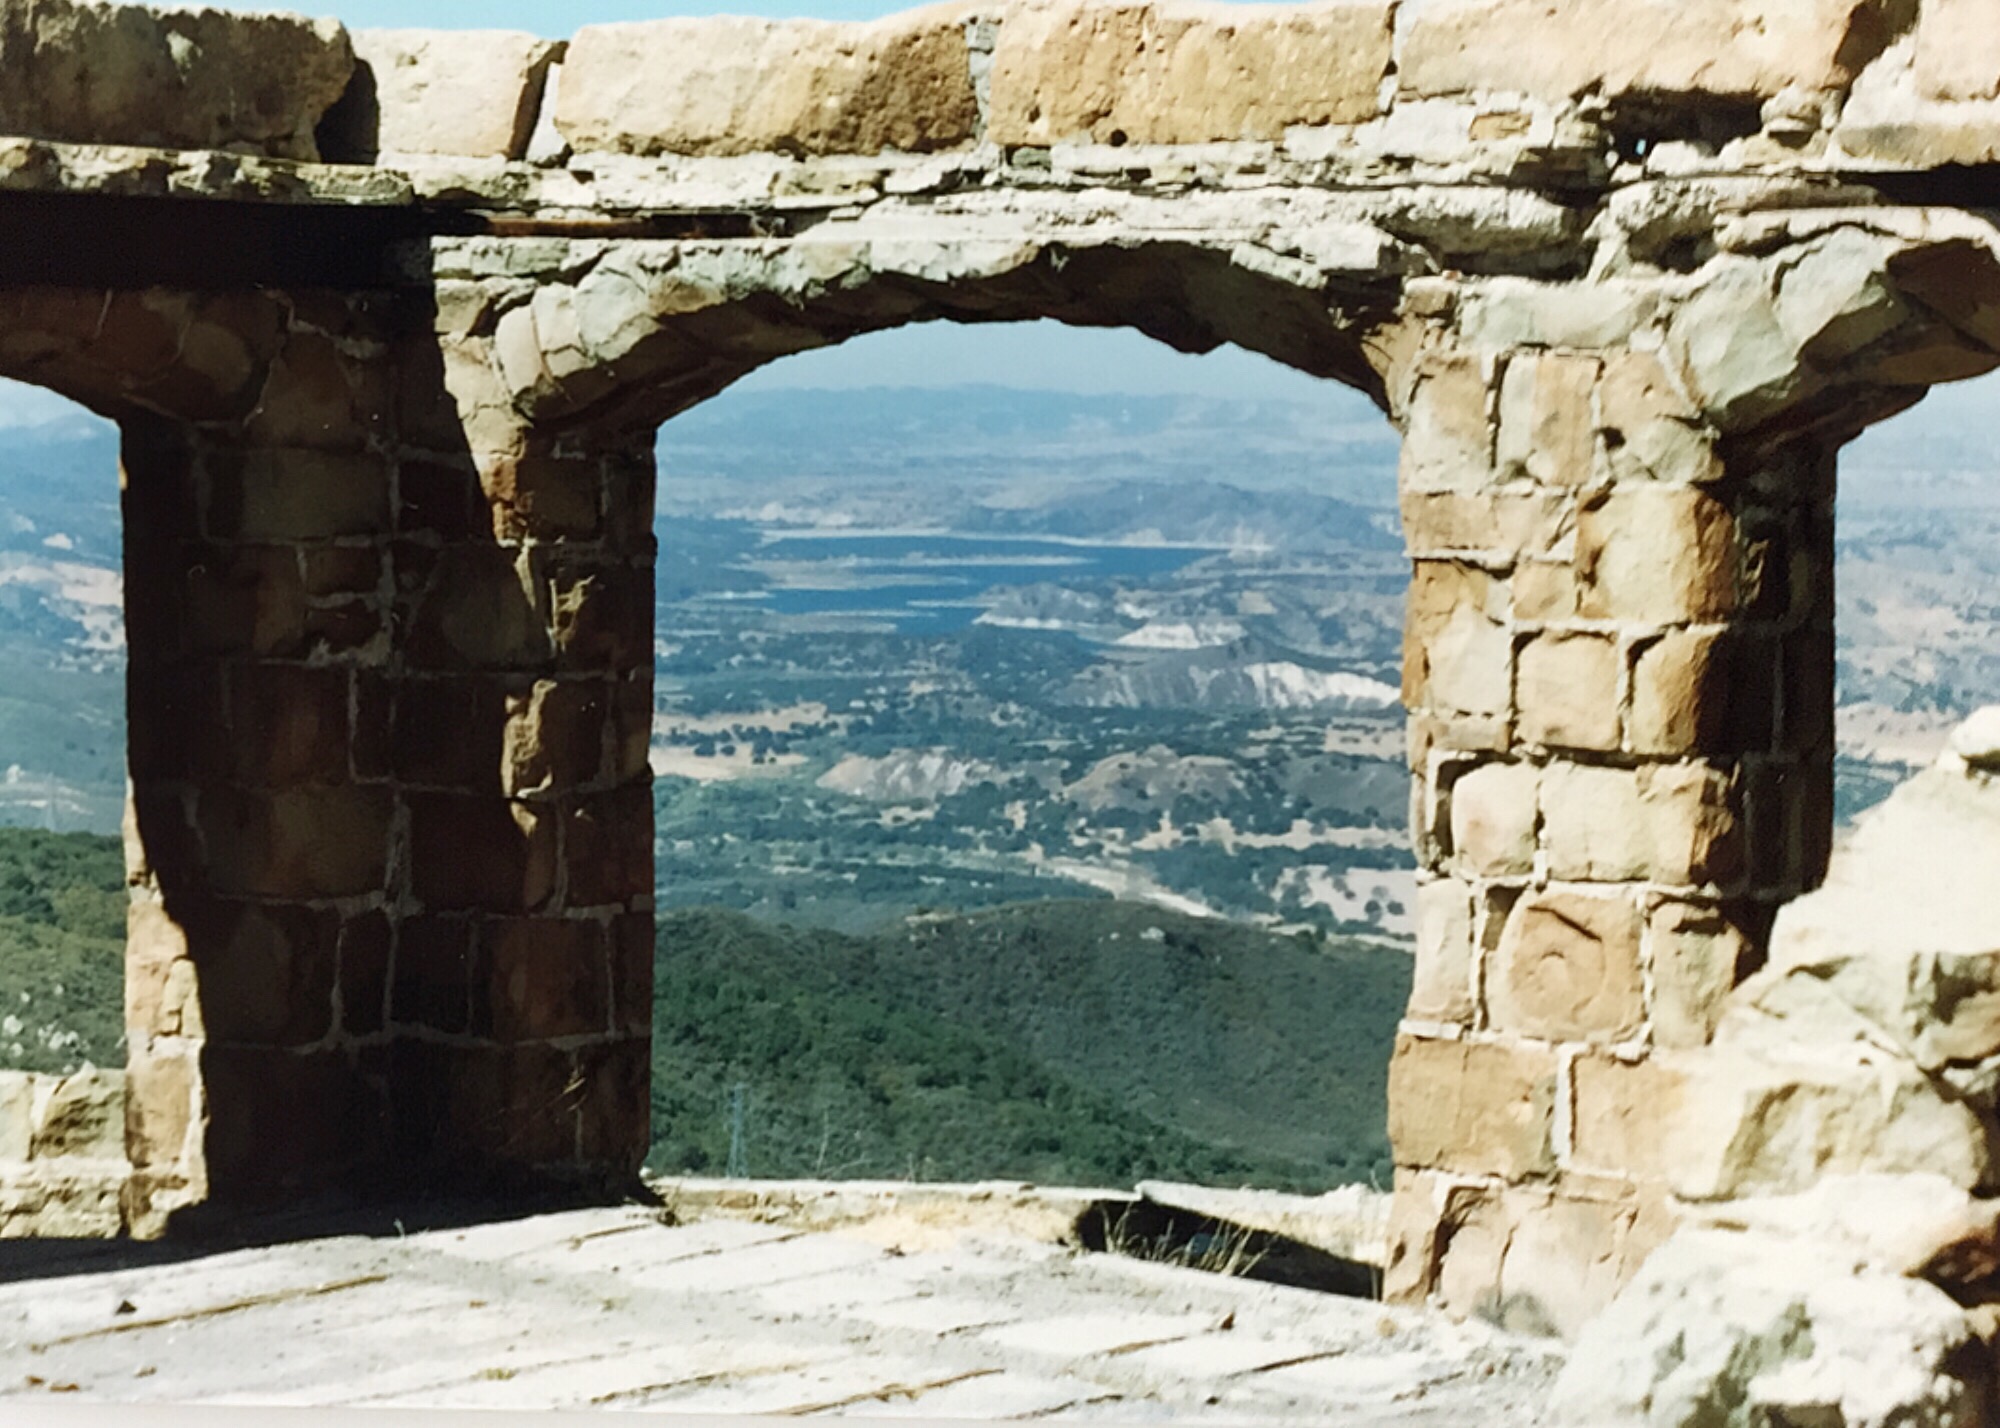
A LANDSCAPE
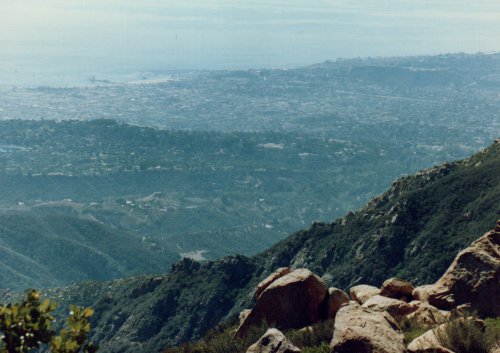
FastFoto Enhanced. Not at all a bad job again with a good print.
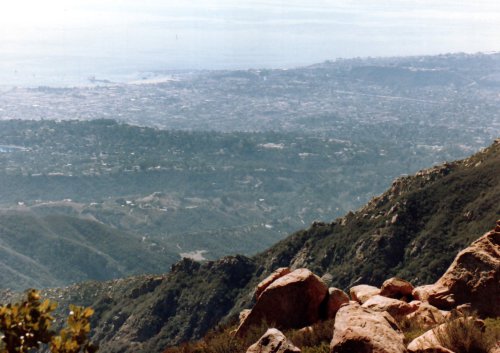
FastFoto. Note the discolored flora in the bottom left corner and light highlights.
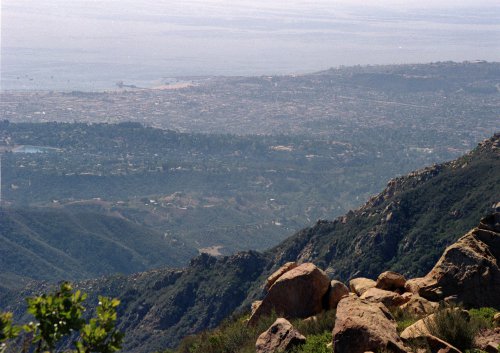
OpticFilm 135. Accurate color and good tonal range.
Camera. An accurate representation of the print.
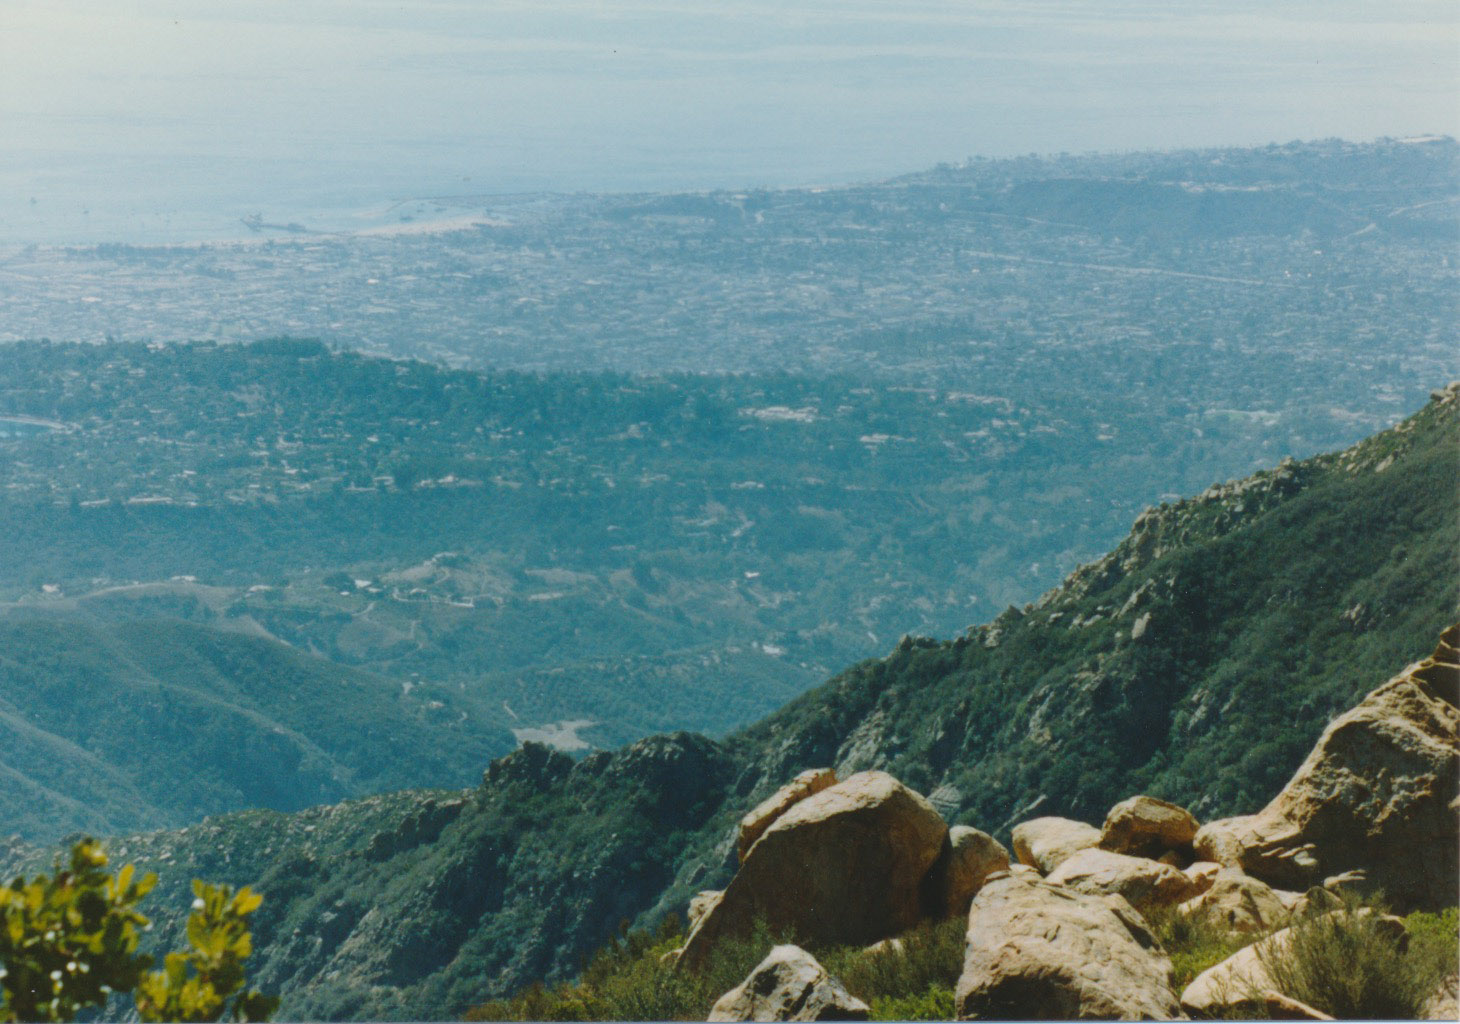
Flatbed. The JPEG scan requires some editing time again.
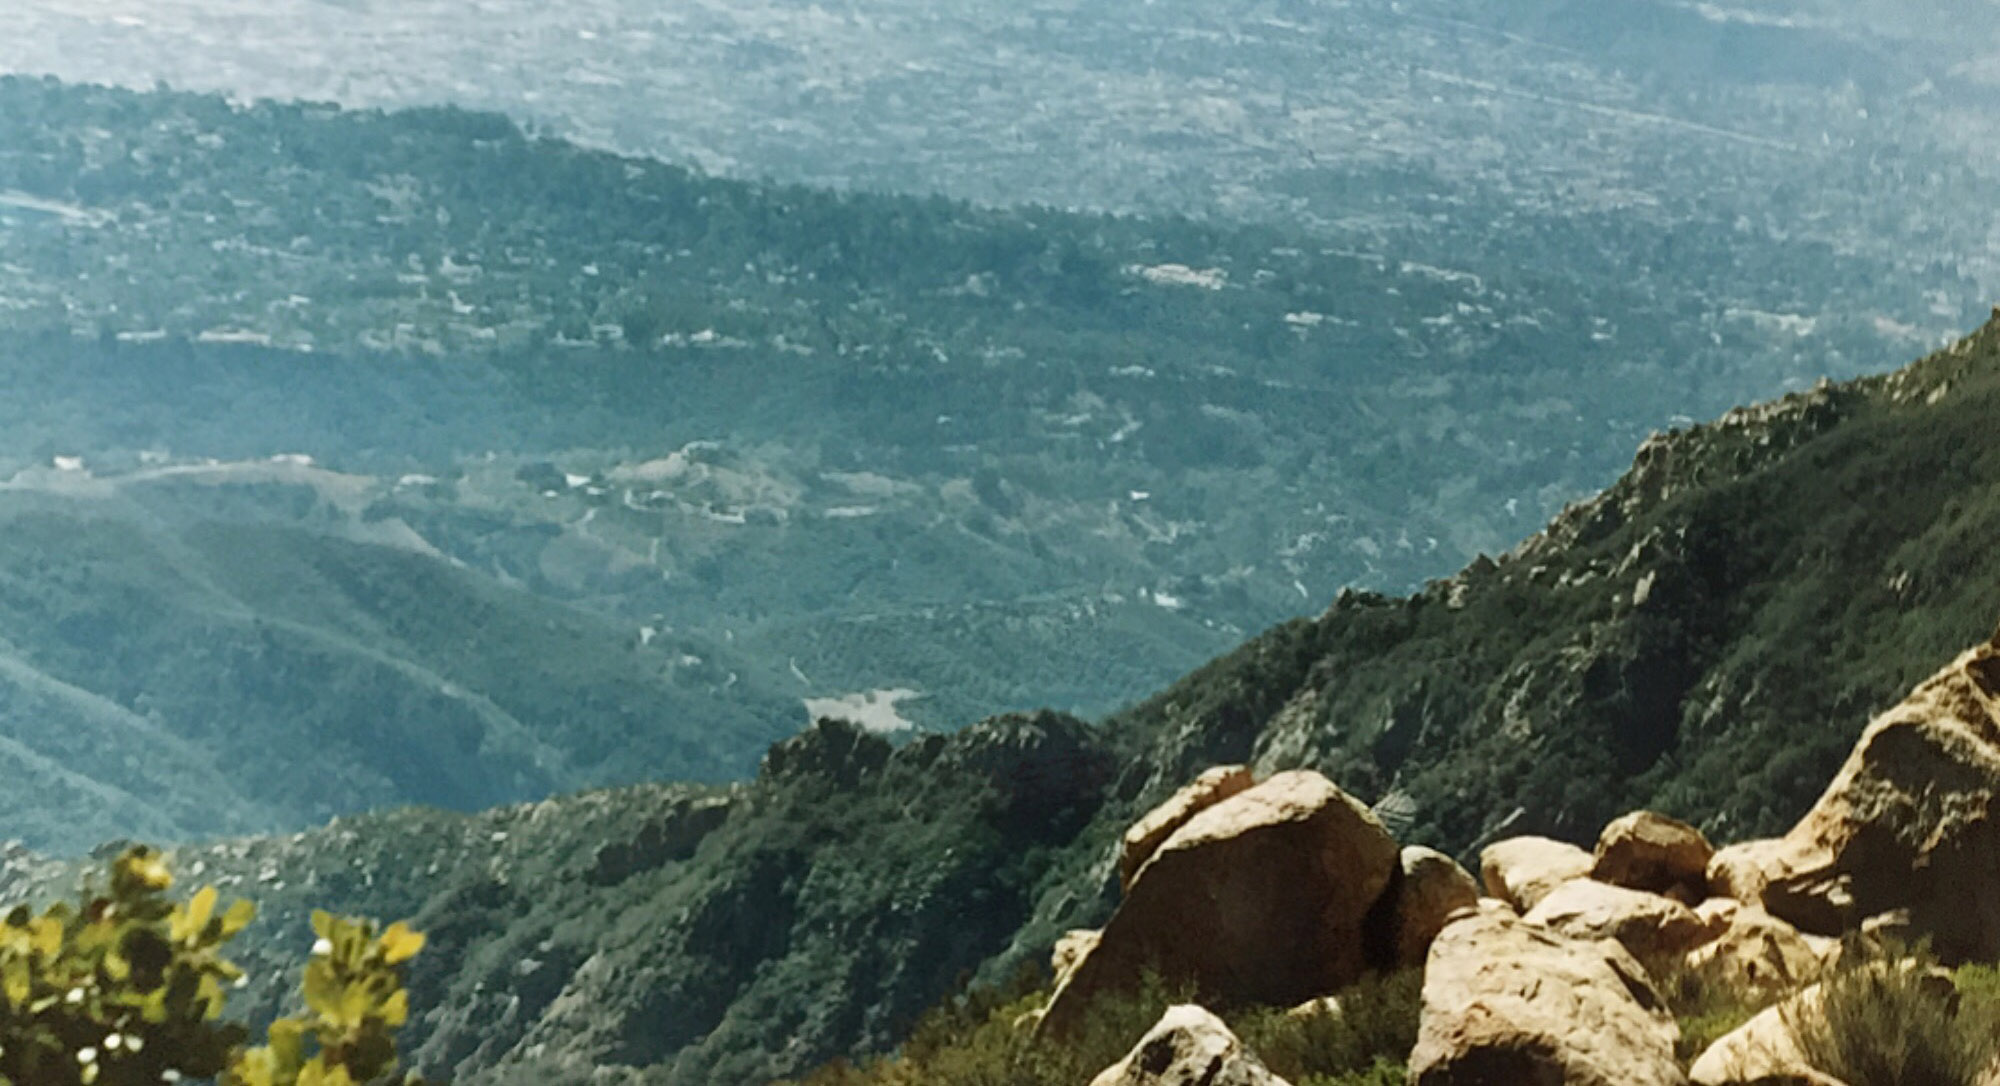
Smartphone. Completely confused by the light tonality of the ocean.
MIDDLE DISTANCE
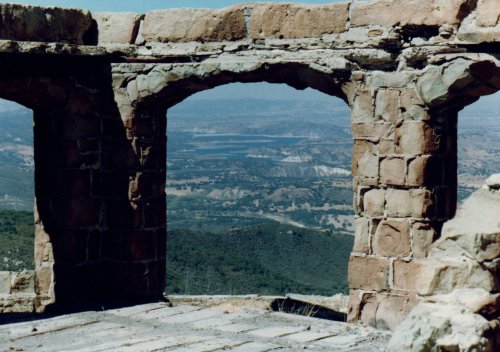
FastFoto Enhanced. Not much "enhancing" going on here.

FastFoto. Color balance too cold and tonality has too much contrast.
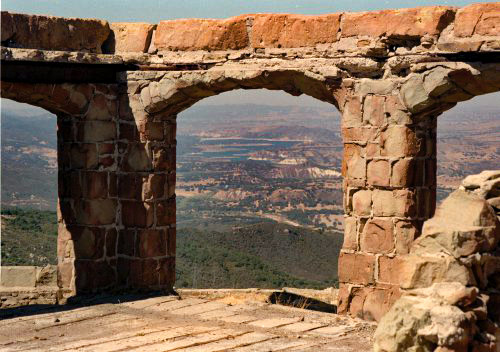
OpticFilm 135. What it should look like, actually.
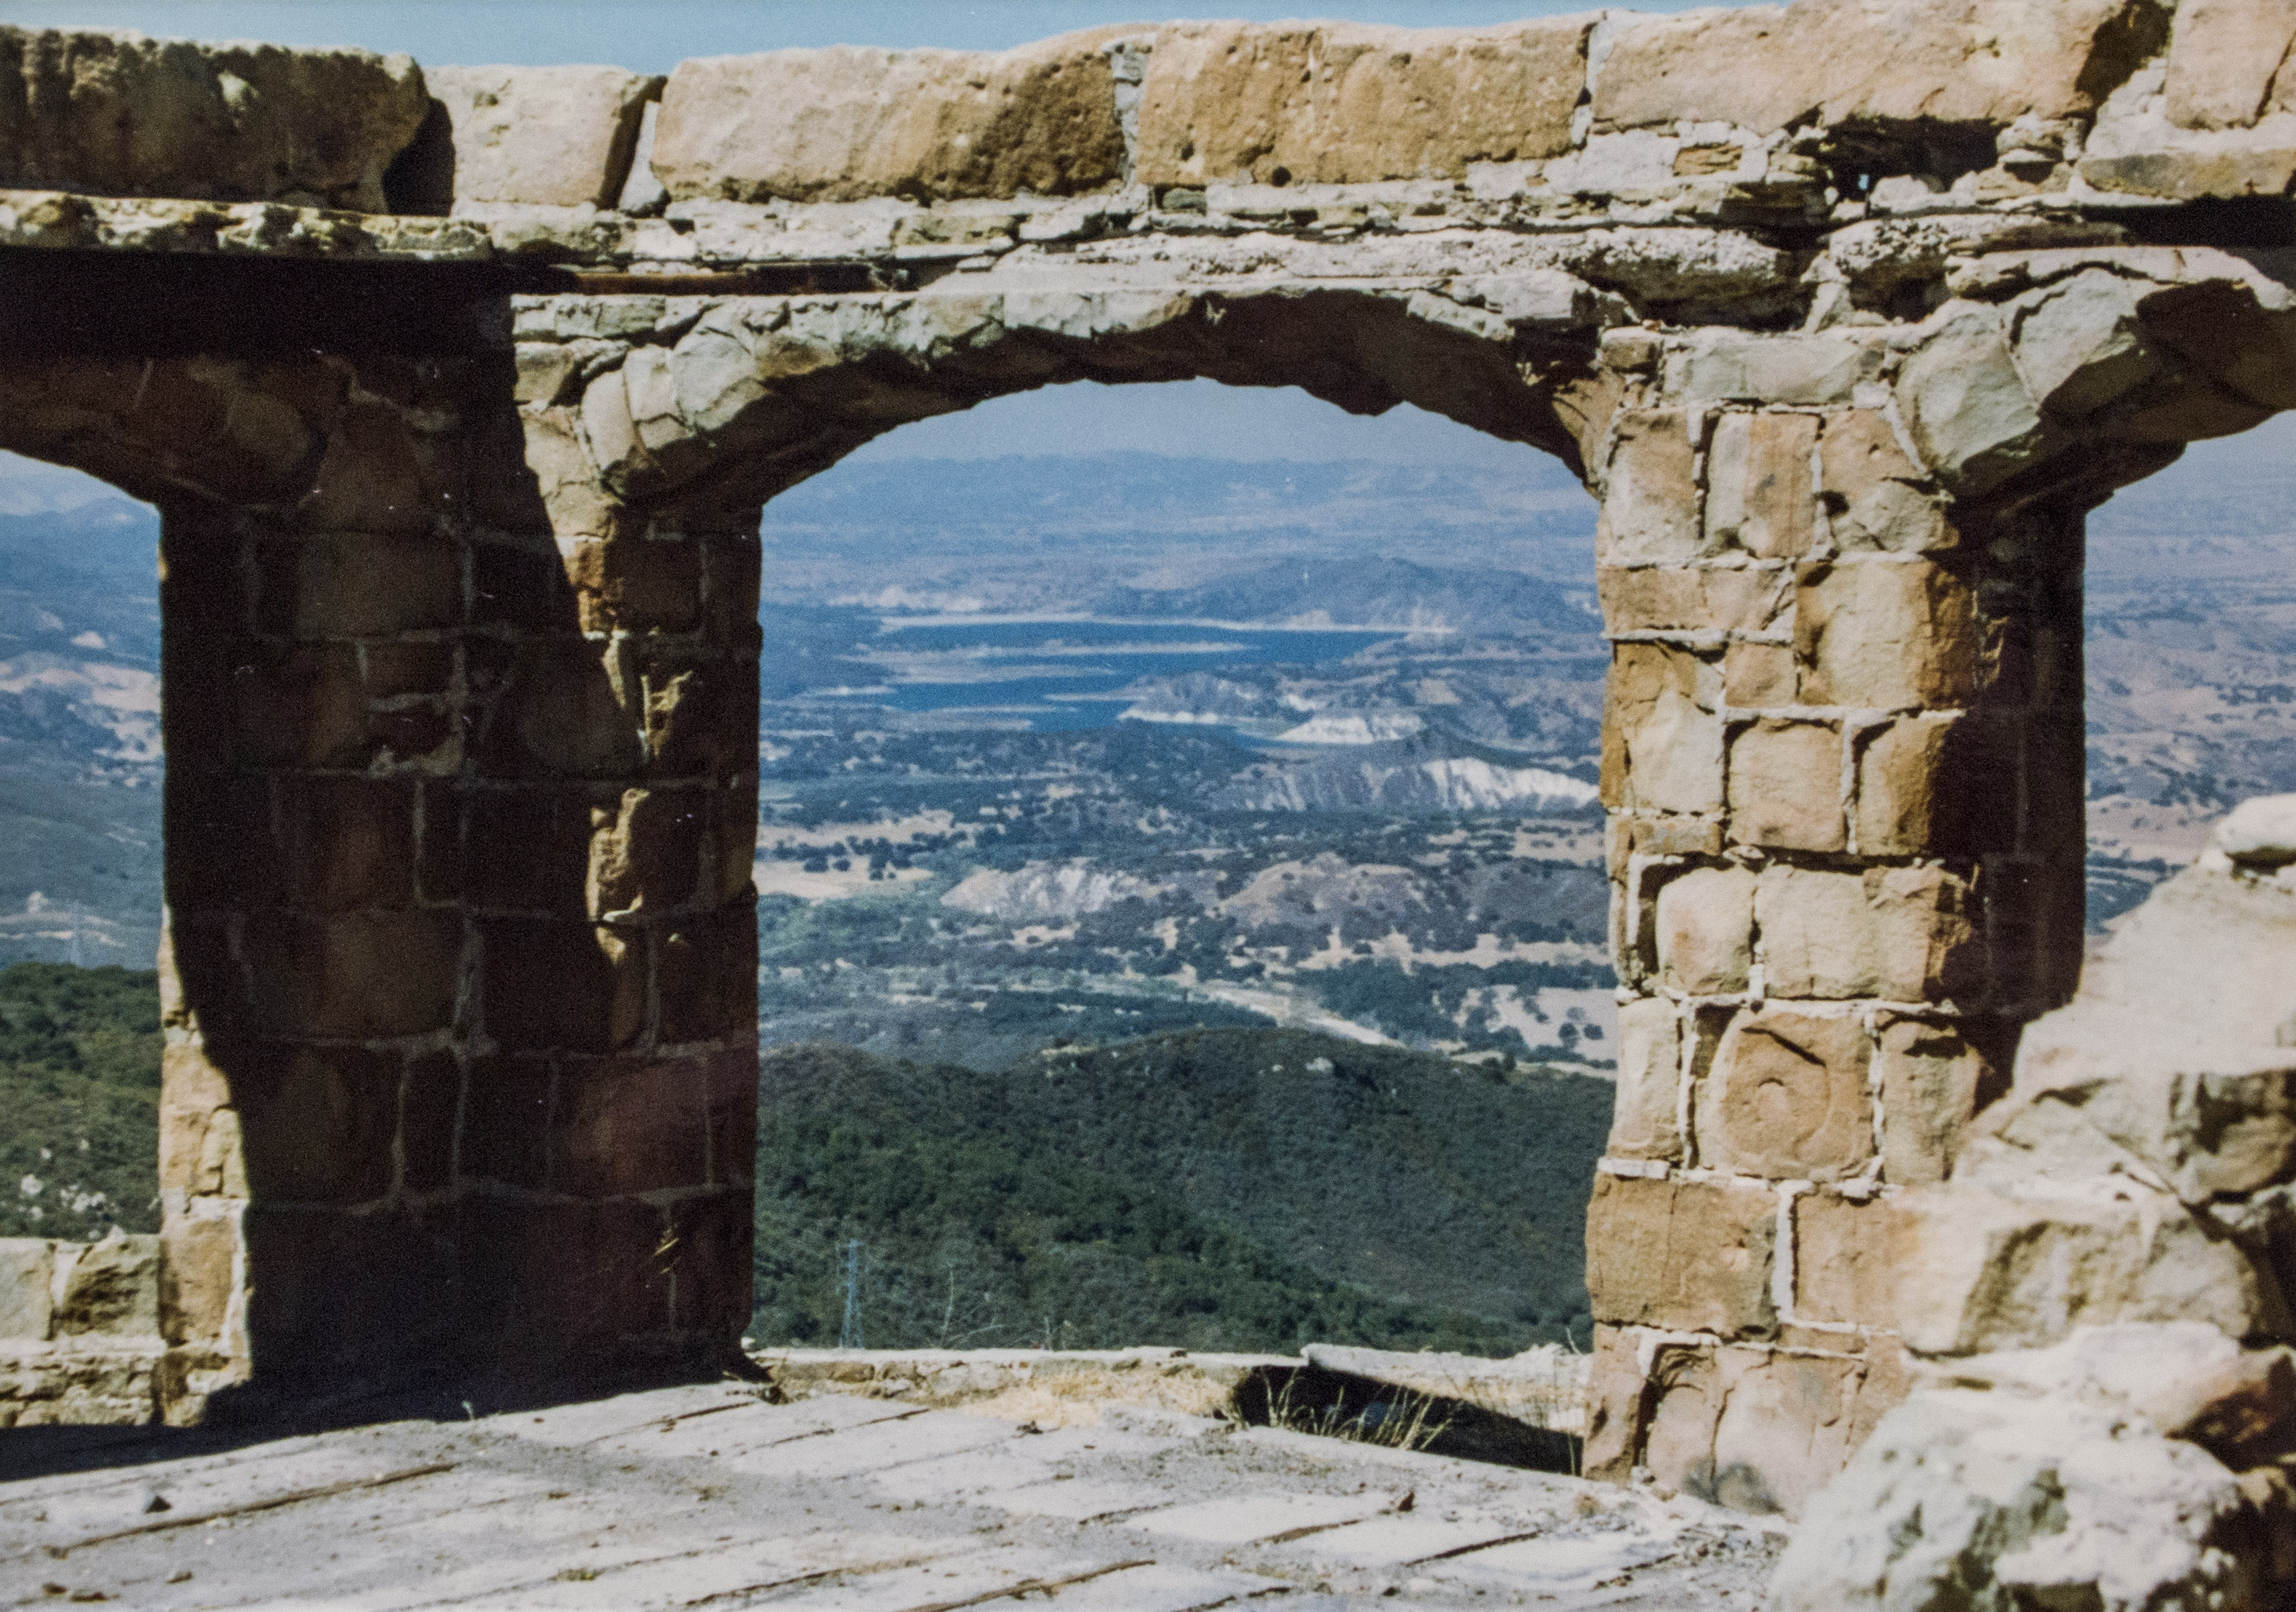
Camera. Good tonal range and not bad color compared to the print.
Flatbed. Again a bit flat, which you could fix in editing if you took the time.
Smartphone. Blown highlights but competitive this time.
We might have used VueScan with the flatbed CanoScan 9000F scans to get better results from the scanner. But we wanted to show what a typical scan would look like, rather than an optimized scan. If you're scanning a shoebox, you want to avoid spending a lot of time tweaking the scans.
FINDINGS
A few things became clear to us after going through all this. Here's the bottom line:
- Speed. In order of fastest to slowest the various approaches ranked FotoFast, Camera, Flatbed Scanner, Film Scanner, Smartphone. Because PhotoScan required five separate exposures plus the time to align them, it was the slowest method.
- Quality. In order of best to worst, the various approaches ranked Film Scanner, Camera, FotoFast, Flatbed Scanner, Smartphone. Using your smartphone the way we used a camera would, obviously, move it up the ladder but using PhotoScan really slows the operation down.
Now if you weigh those factors equally, the combined scores would be FotoFast 8, Camera 8, Film Scanner 8, Flatbed 5 and Smartphone 2. That's a three-way tie for first.
NEXT
In the next installment of our review, we'll sum up what we've learned using the Epson FastFoto for a few months. And try to break that three-way tie.
(Editor's Note: This is the first part of a multi-part review of the Epson FastFoto FF-640. Links to the other stories are in the main table of contents at the top right of each story.)